For the VCFB 2015 I had written a simple PDP-10 assembler and used it to write a similarly simple forth implementation (link). Just like the year before I enjoyed playing around with Jörg Hoppe's KI10 panel that he hooked up to his blinkenbone system running simh. Also at the VCFB was Oscar Vermeulen who builds small PDP-8 panel replicas that are hooked up to simh running on a Raspberry Pi (PiDP-8) and who is now working on PDP-11/70 front panel replicas. I wanted a front panel of my own...
Having read about the hacker culture at the MIT and the stories about the computers there, I became interested in the PDP-6, which was the direct predecessor of the first PDP-10 model (the KA10) and of which (according to wikipedia) only 23 machines were ever built (other sources say 26). Since I really liked writing software for the 10 (which basically uses the same instruction set as the 6) I wanted to implement a PDP-6 myself to really grok the workings of this machine. As the 6's front panel is a lot simpler than that of a KA10 or KI10 and Jörg's panels and Oscar's replica were a great inspiration I also wanted a real front panel to go with my PDP-6. I talked with fellow AfRA-member jaseg about this and we agreed that writing an emulator (as opposed to a verilog implementation) would be the most practical way to implement the processor (at least for now). The code is a more or less direct translation of the schematics to C. Unfortunately this means it is also very unreadable if you're not familiar with the inner workings of a PDP-6; on the other hand we get a very accurate emulation without too much effort.
I naturally wrote the emulator (or should I say simulator?) in a way that the front panel is not an afterthought but an integral part of the design. The current SDL implementation of the front panel can later be swapped easily for the real thing. Since I have no experience whatsoever with hardware, jaseg came up with the plan on how to build the the real front panel and its general design.
As for parts, the small toggles were the easy part as you can buy these anywhere. For the bigger keys, which have quite a distinct look, we went with something that hopefully will us allow to replace them with more accurate parts later on. For the lights we decided to go with with LED strips. We ordered everything and the parts arrived in December 2015.
After some time of letting the project rest we met again in February to discuss how to create the actual aluminum panel. One option was to eloxate all the black parts and drill all the holes ourselves. The other option was to get it done professionally, we just didn't know how much that would cost us. Since we both thought it nice to have at least one perfect front panel we decided to get it done professionally if the price for that wasn't too high.
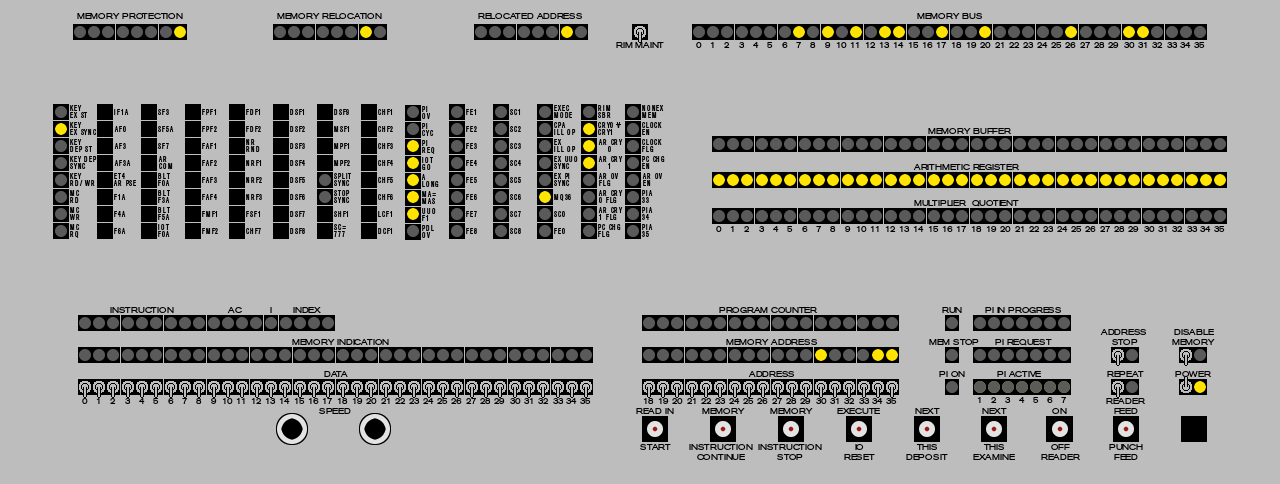
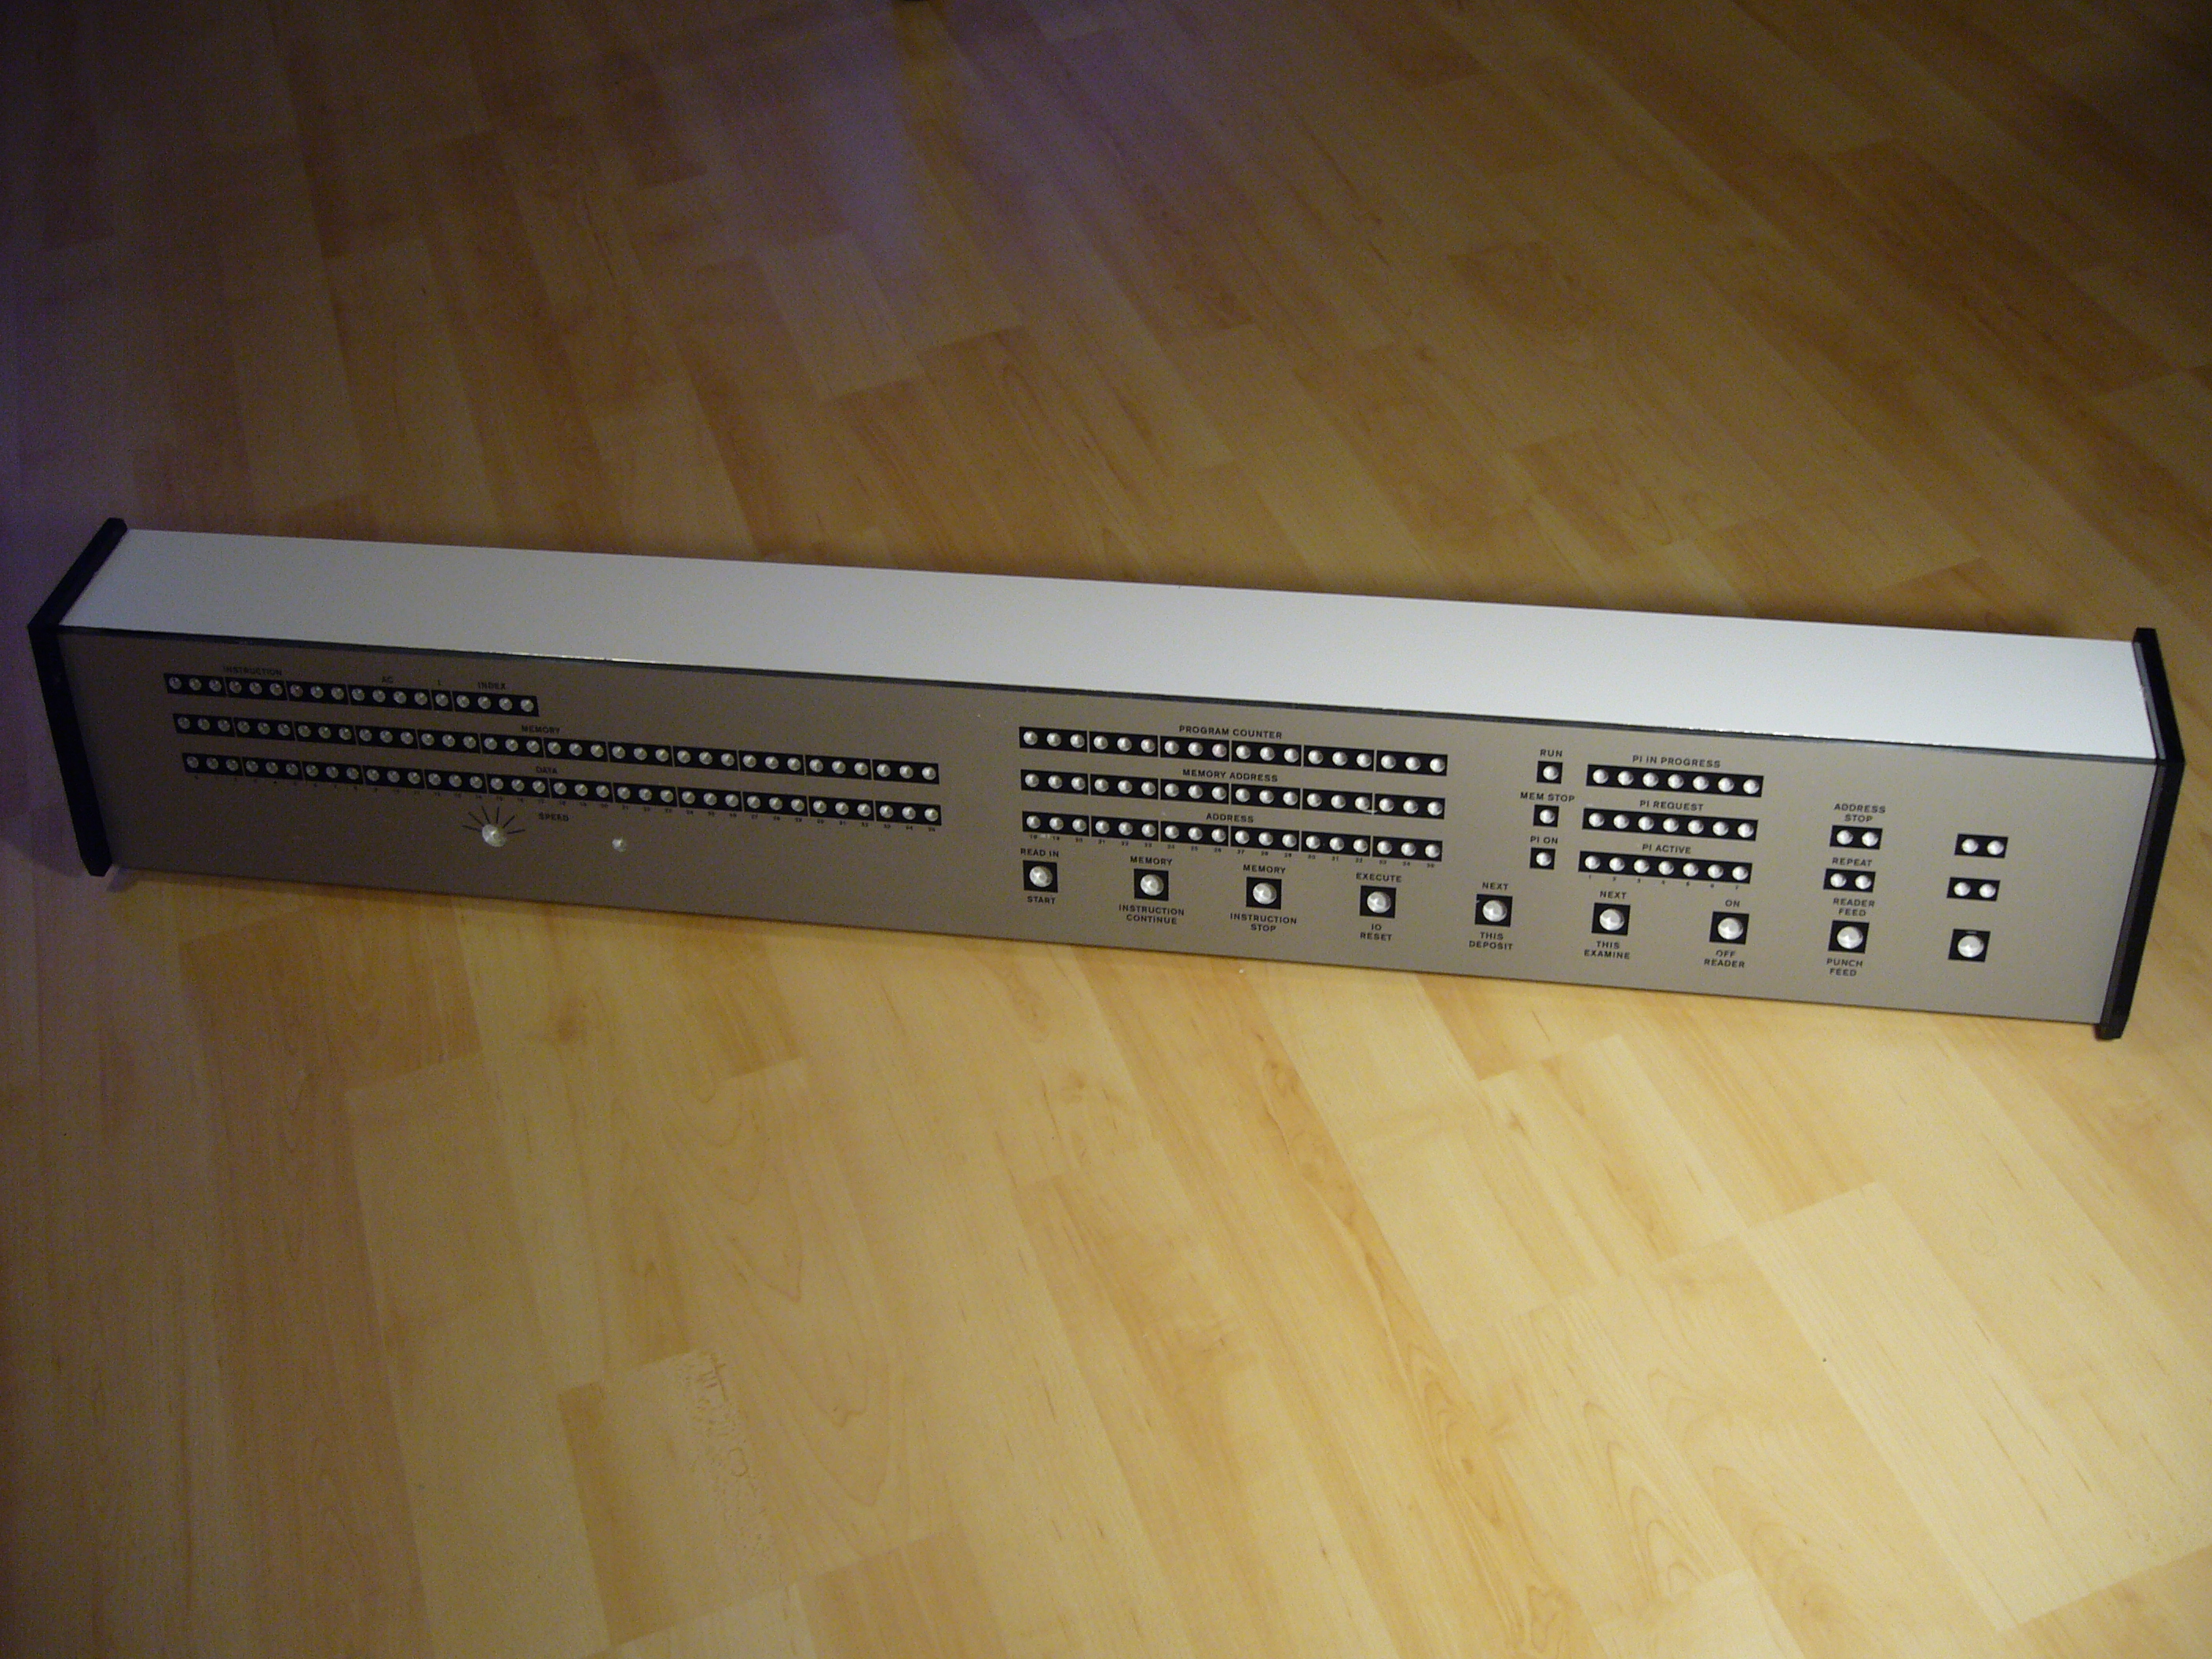
We finally created an SVG of the panel! We found an (almost) fitting font (NOT Helvetica, rather something along the lines of Akzidenz Grotesk) and measured lengths from the (few) pictures we could find on the internet. The result is probably at least 95% true to the original even though we're not quite sure about the absolute size. You can find it on github here.
We got an offer from Altenis: 140 EUR for two front panels, this is awesome.
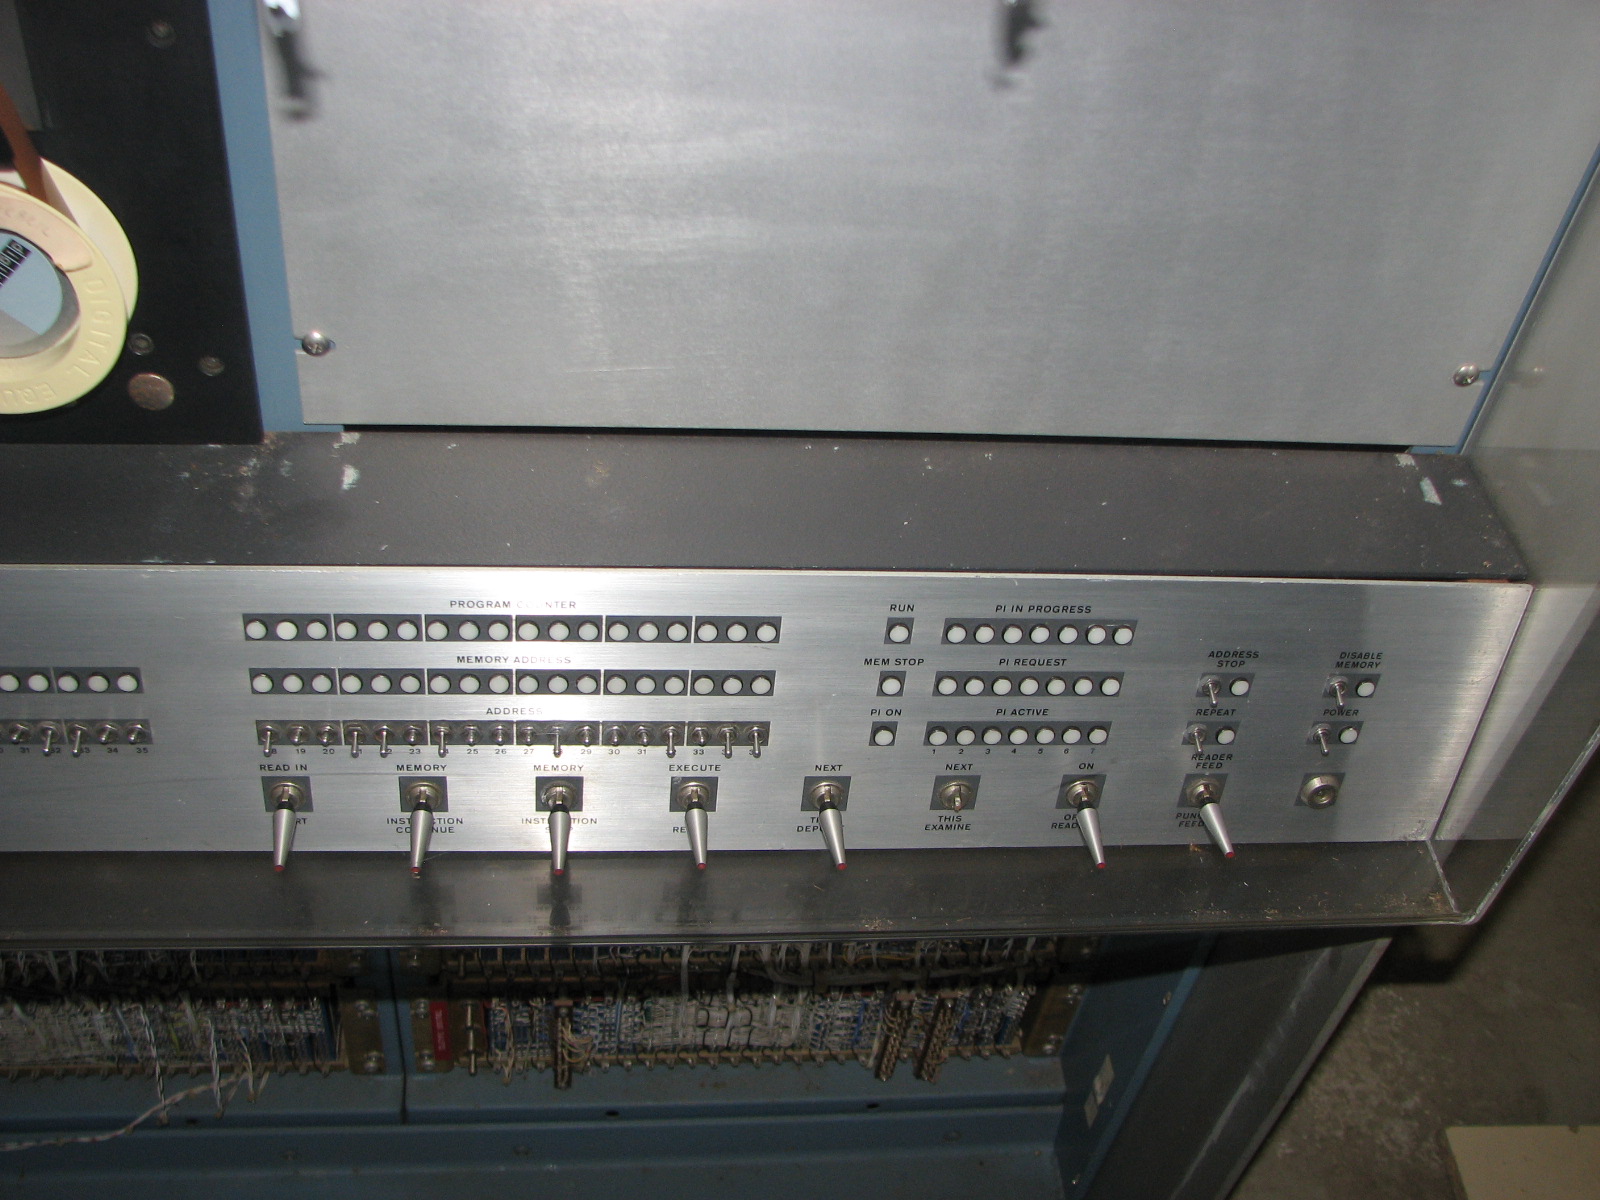
Peter Dreisiger from Australia moved to Berlin and visited the AfRA when we were discussing our front panel plans. When we told him about our project we realized he was the one who took the only hi-res photo of the panel we could find on the internet. It's a small world. We hope he'll help us to get better photos and some measurements.
Apart from that we have to use a more accurate font and order a smaller keylock switch.
We haven't heard anything from Peter yet but made a better SVG that we will use for our two prototype panels. As for the font we went with a (slightly) modified Akzidenz Grotesk BE Medium.
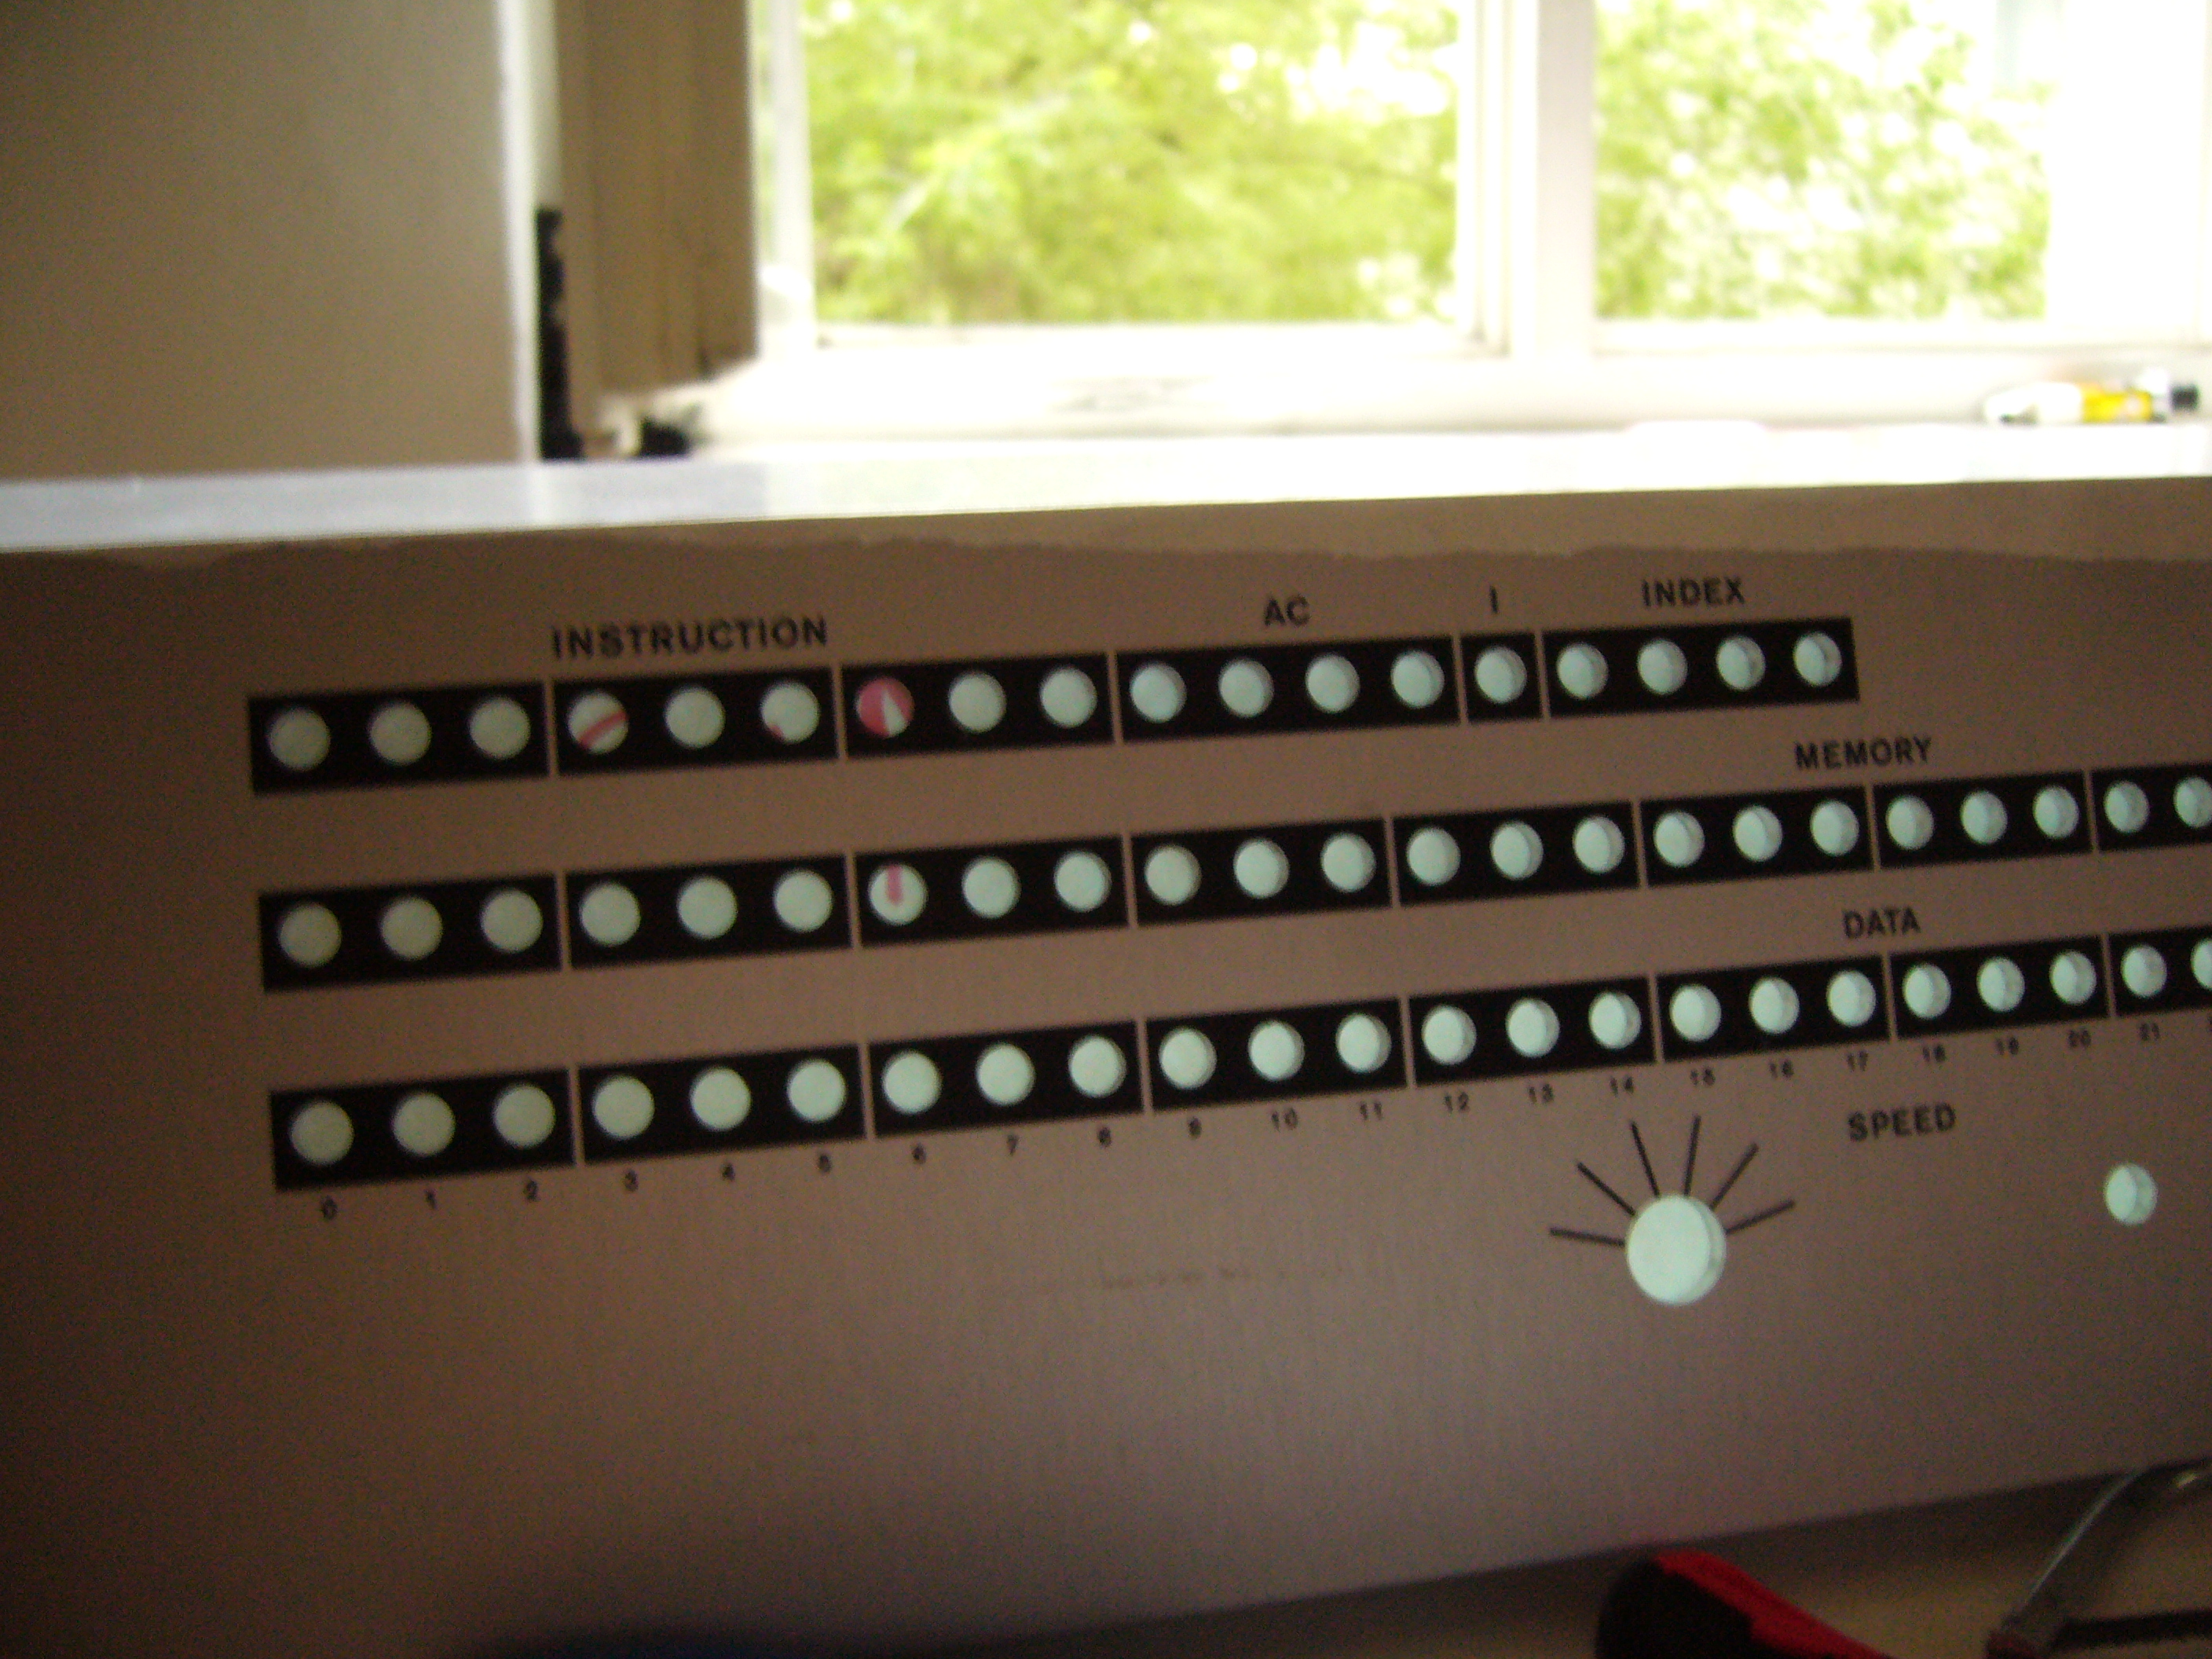
Just received two more photos of the front panel in australia: 1, 2
The cpu-simpulator is pretty much done, what's left is a clock and thorough testing. Apart from the cpu there are no devices yet.
We also ordered the panels now.
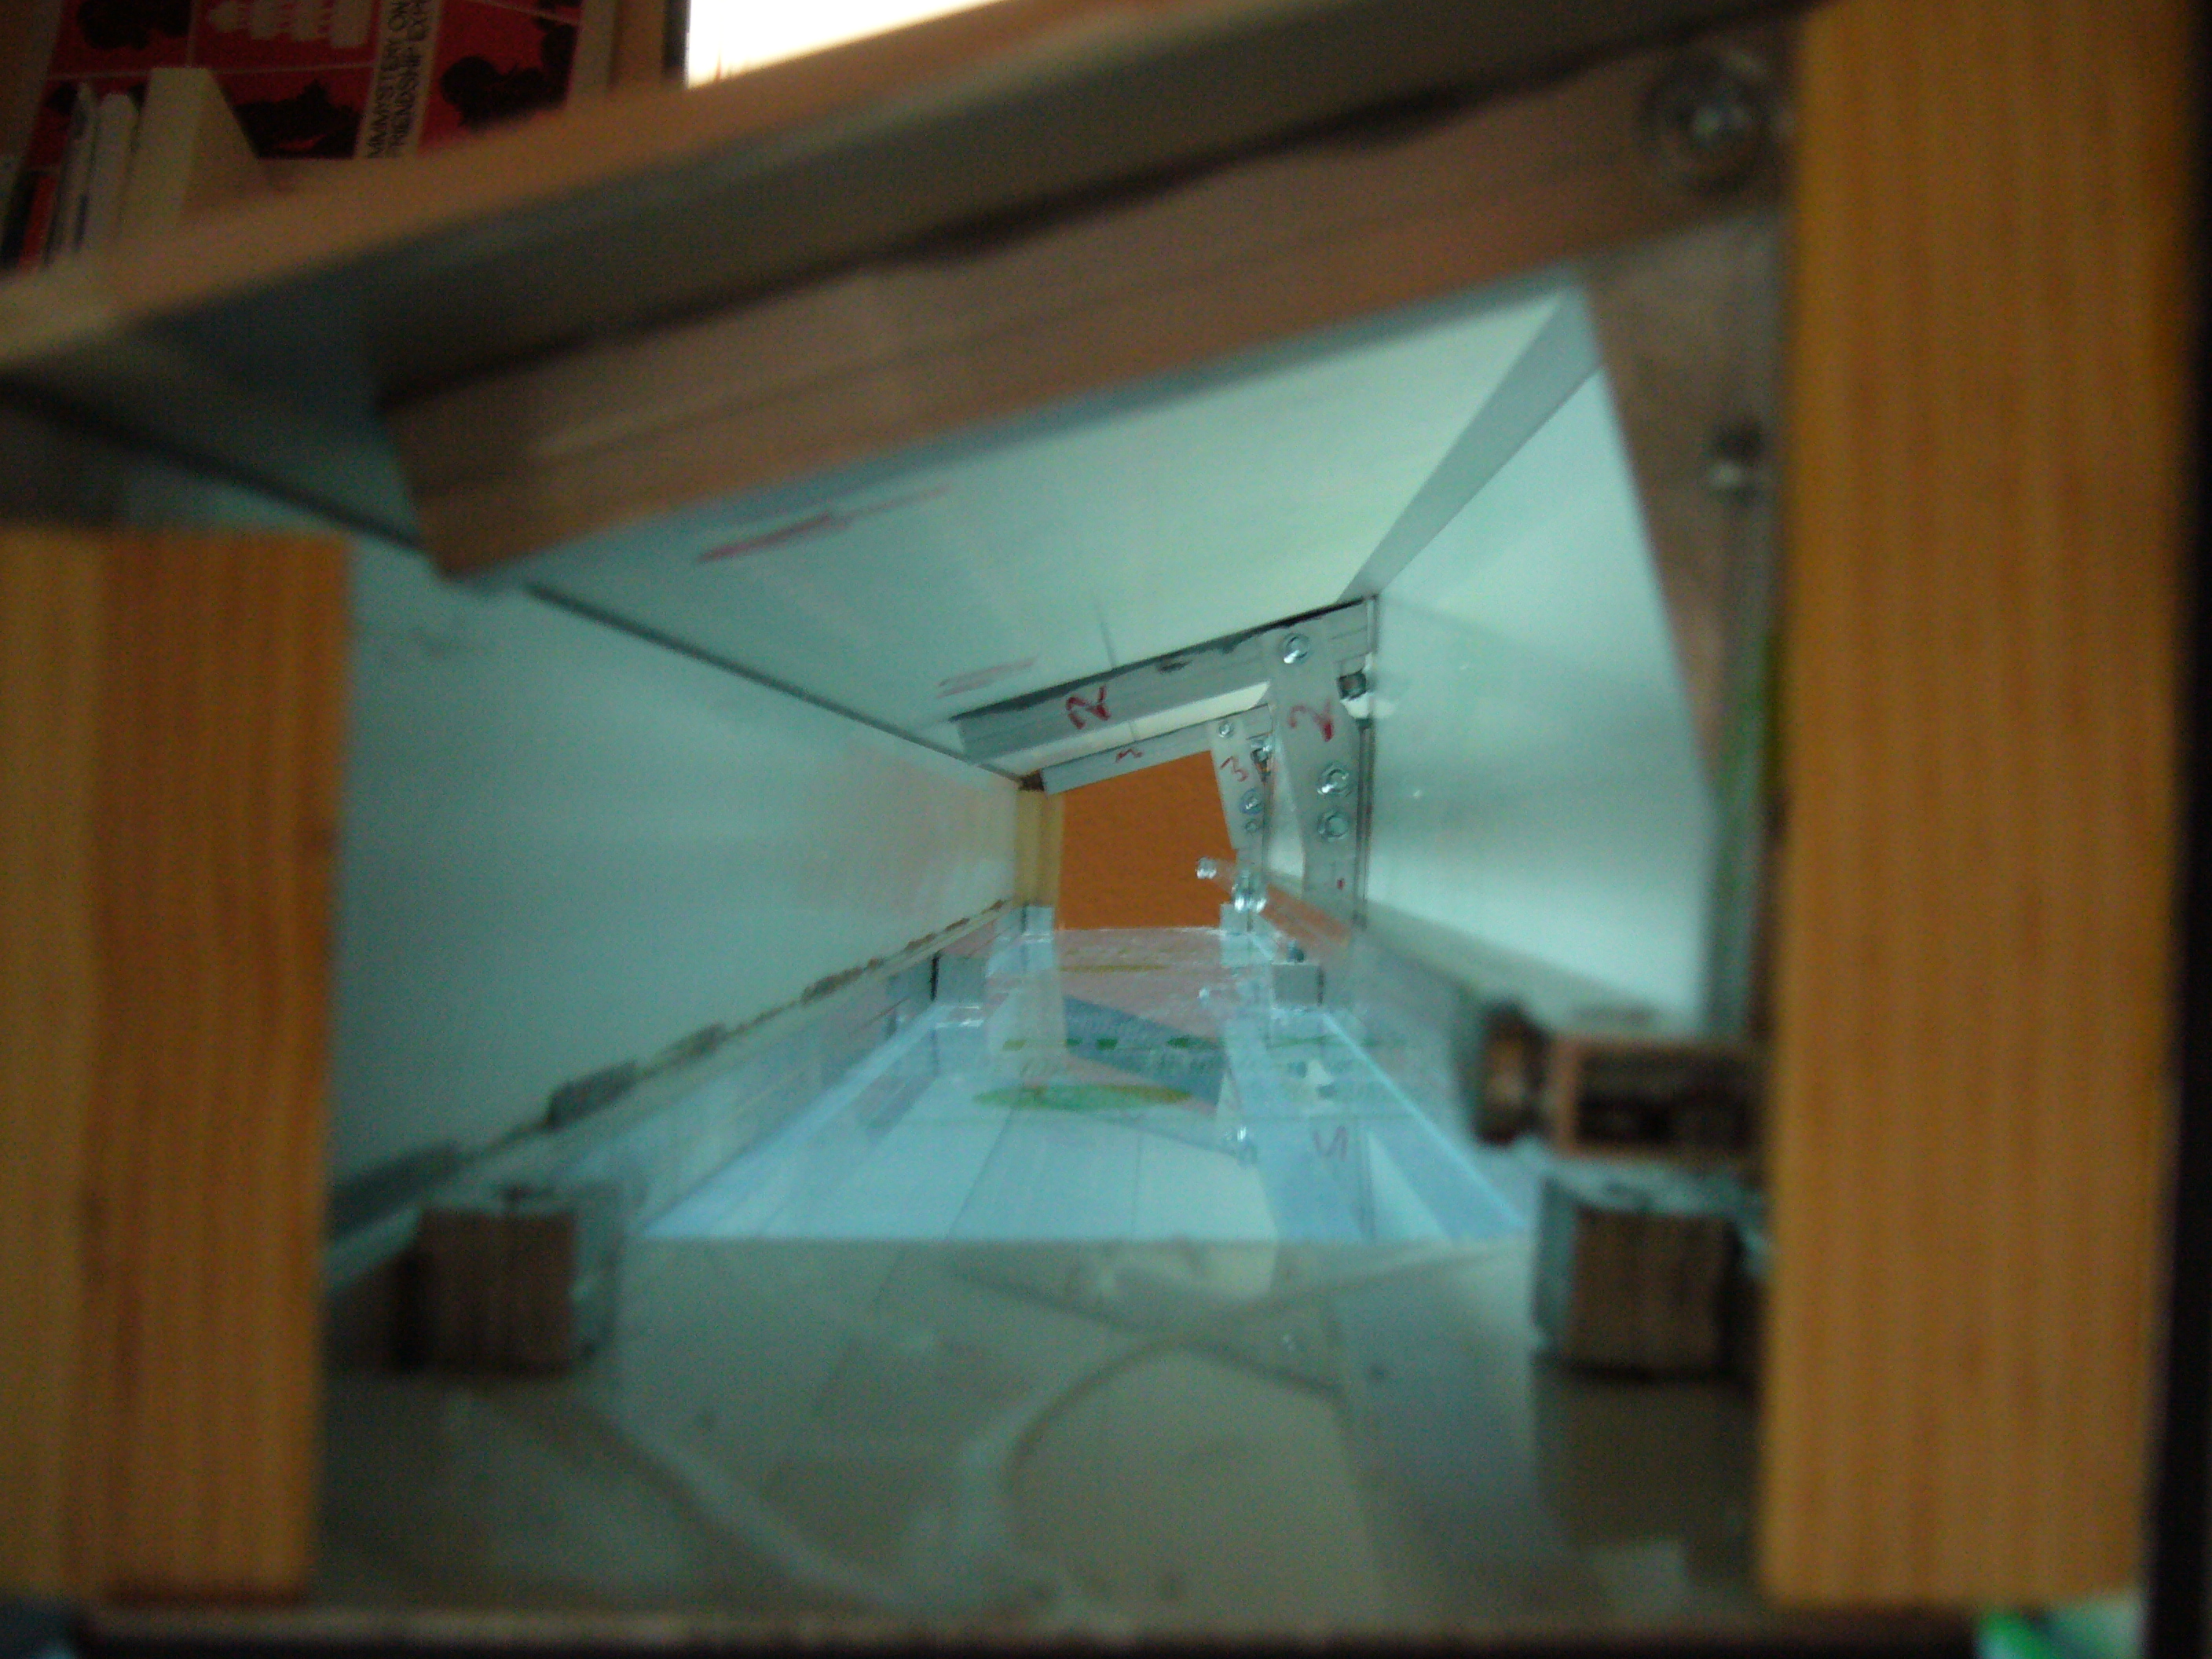
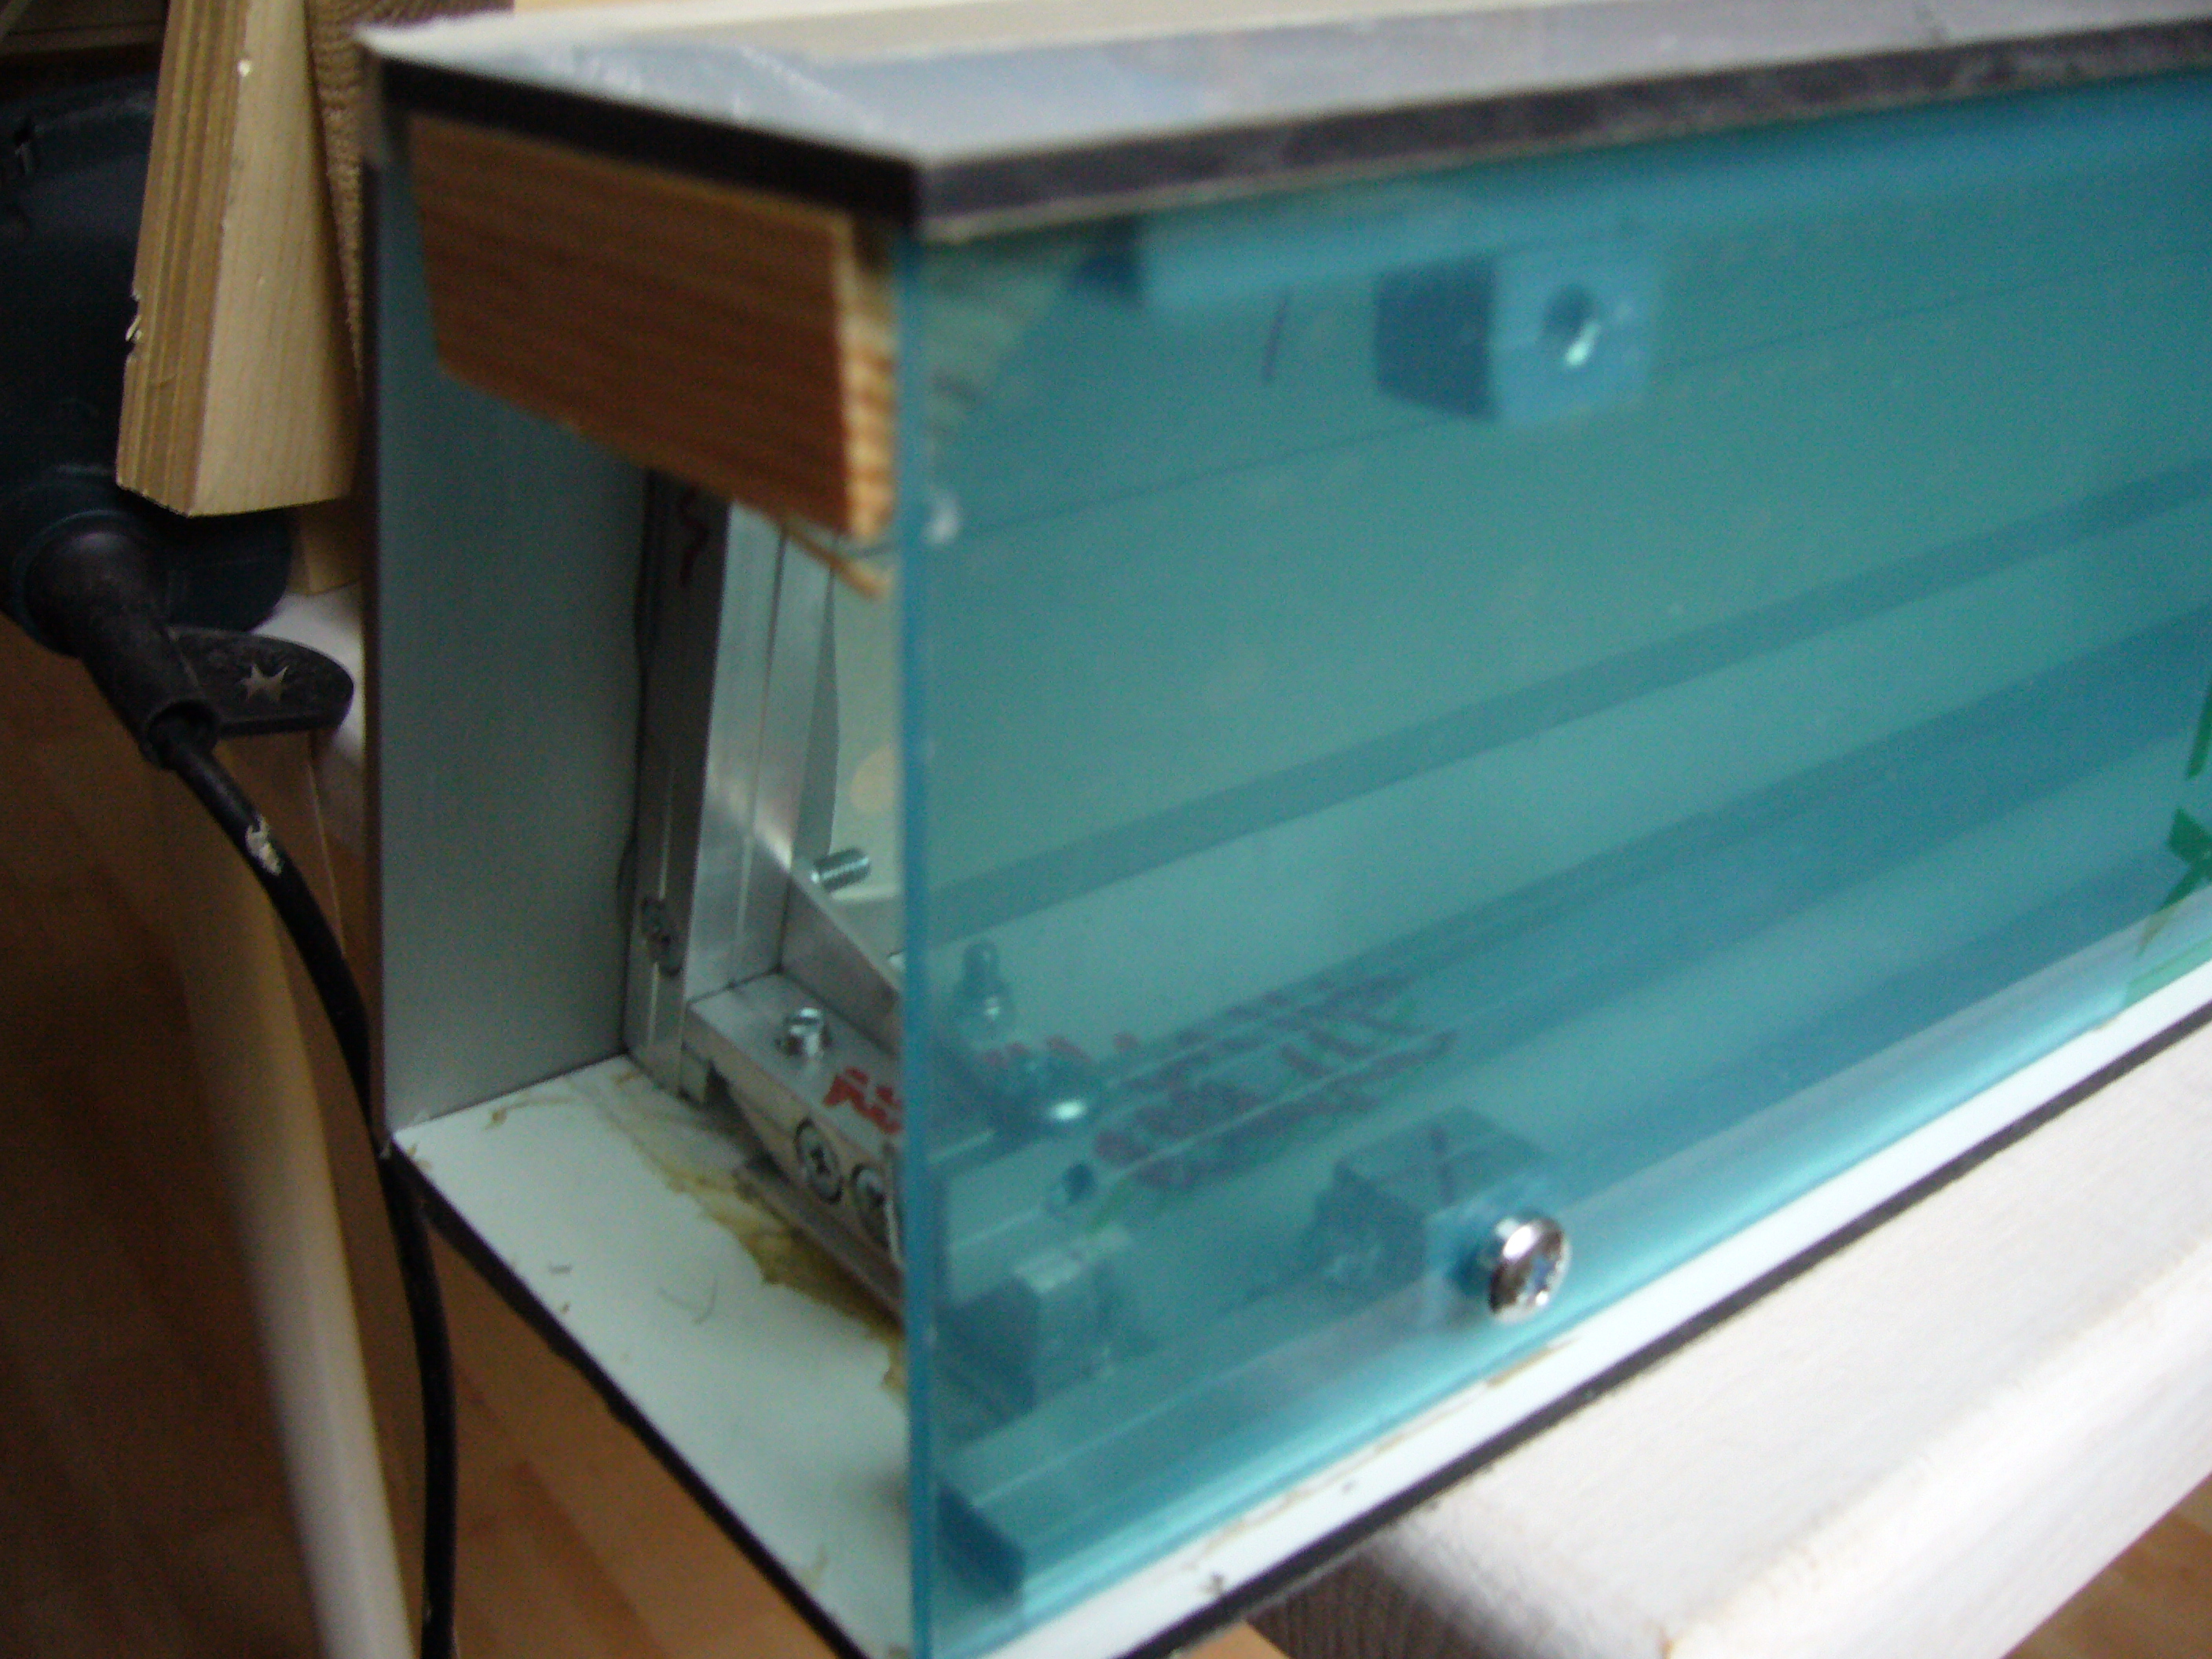
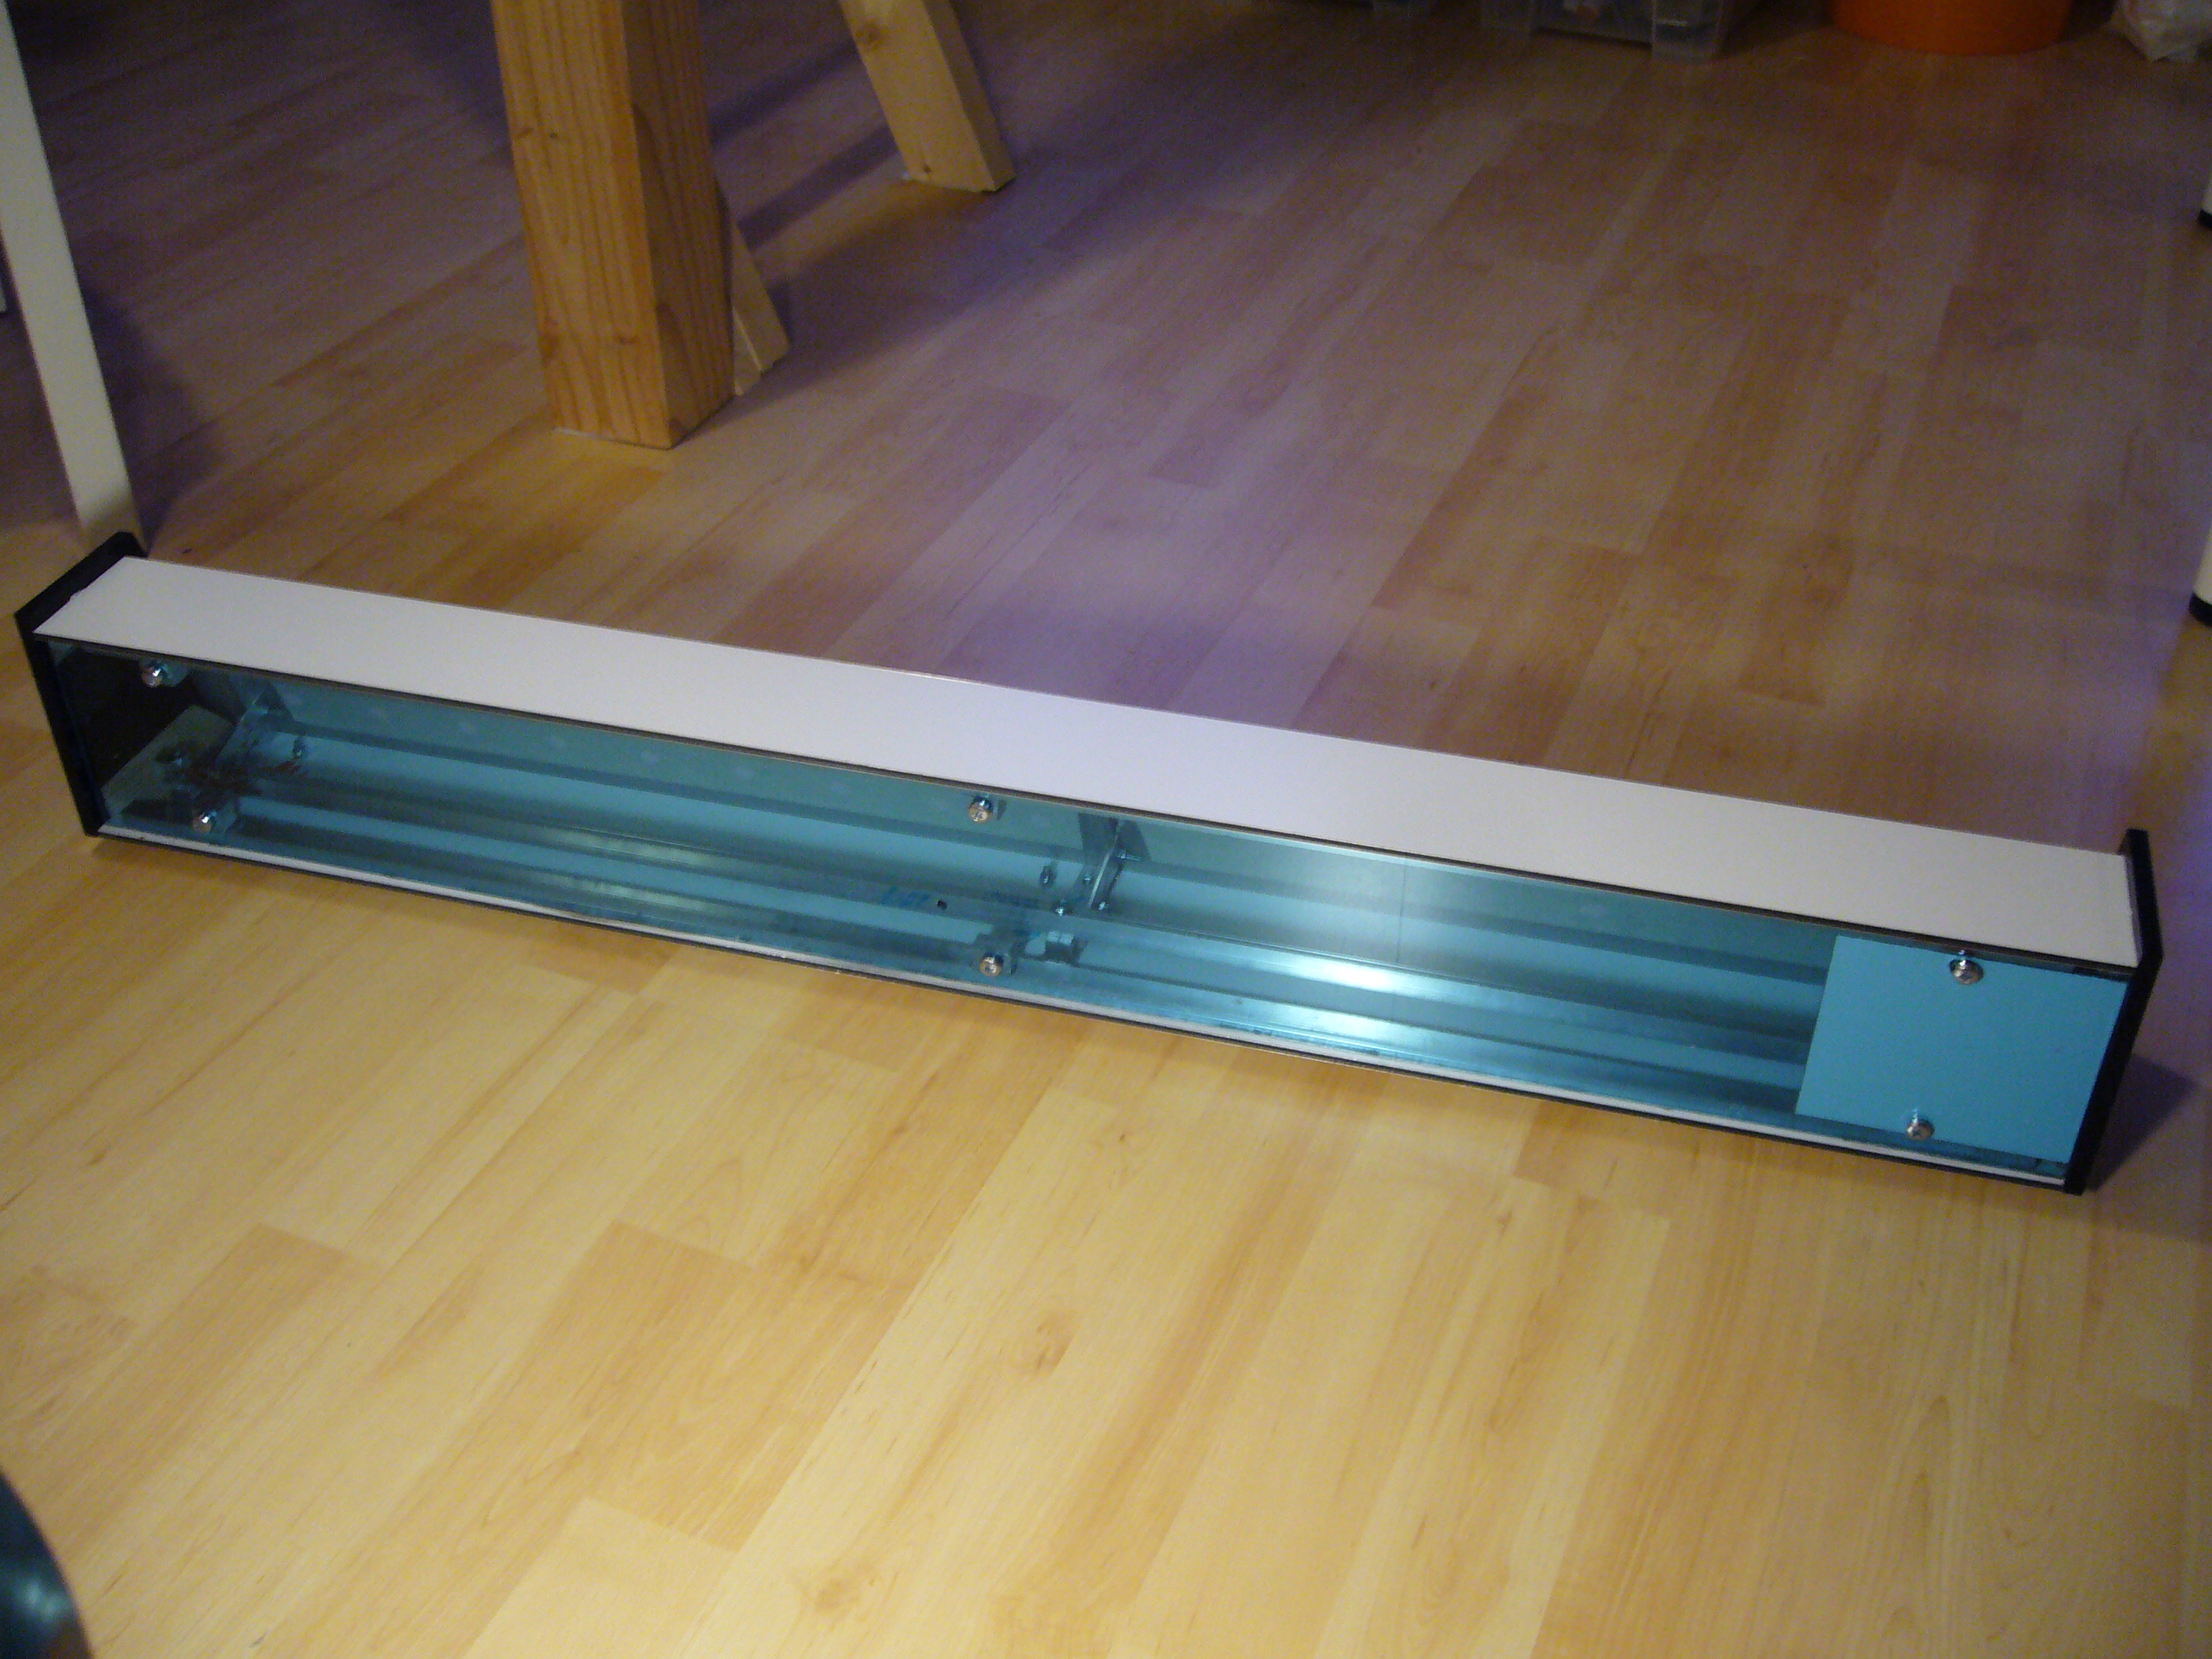
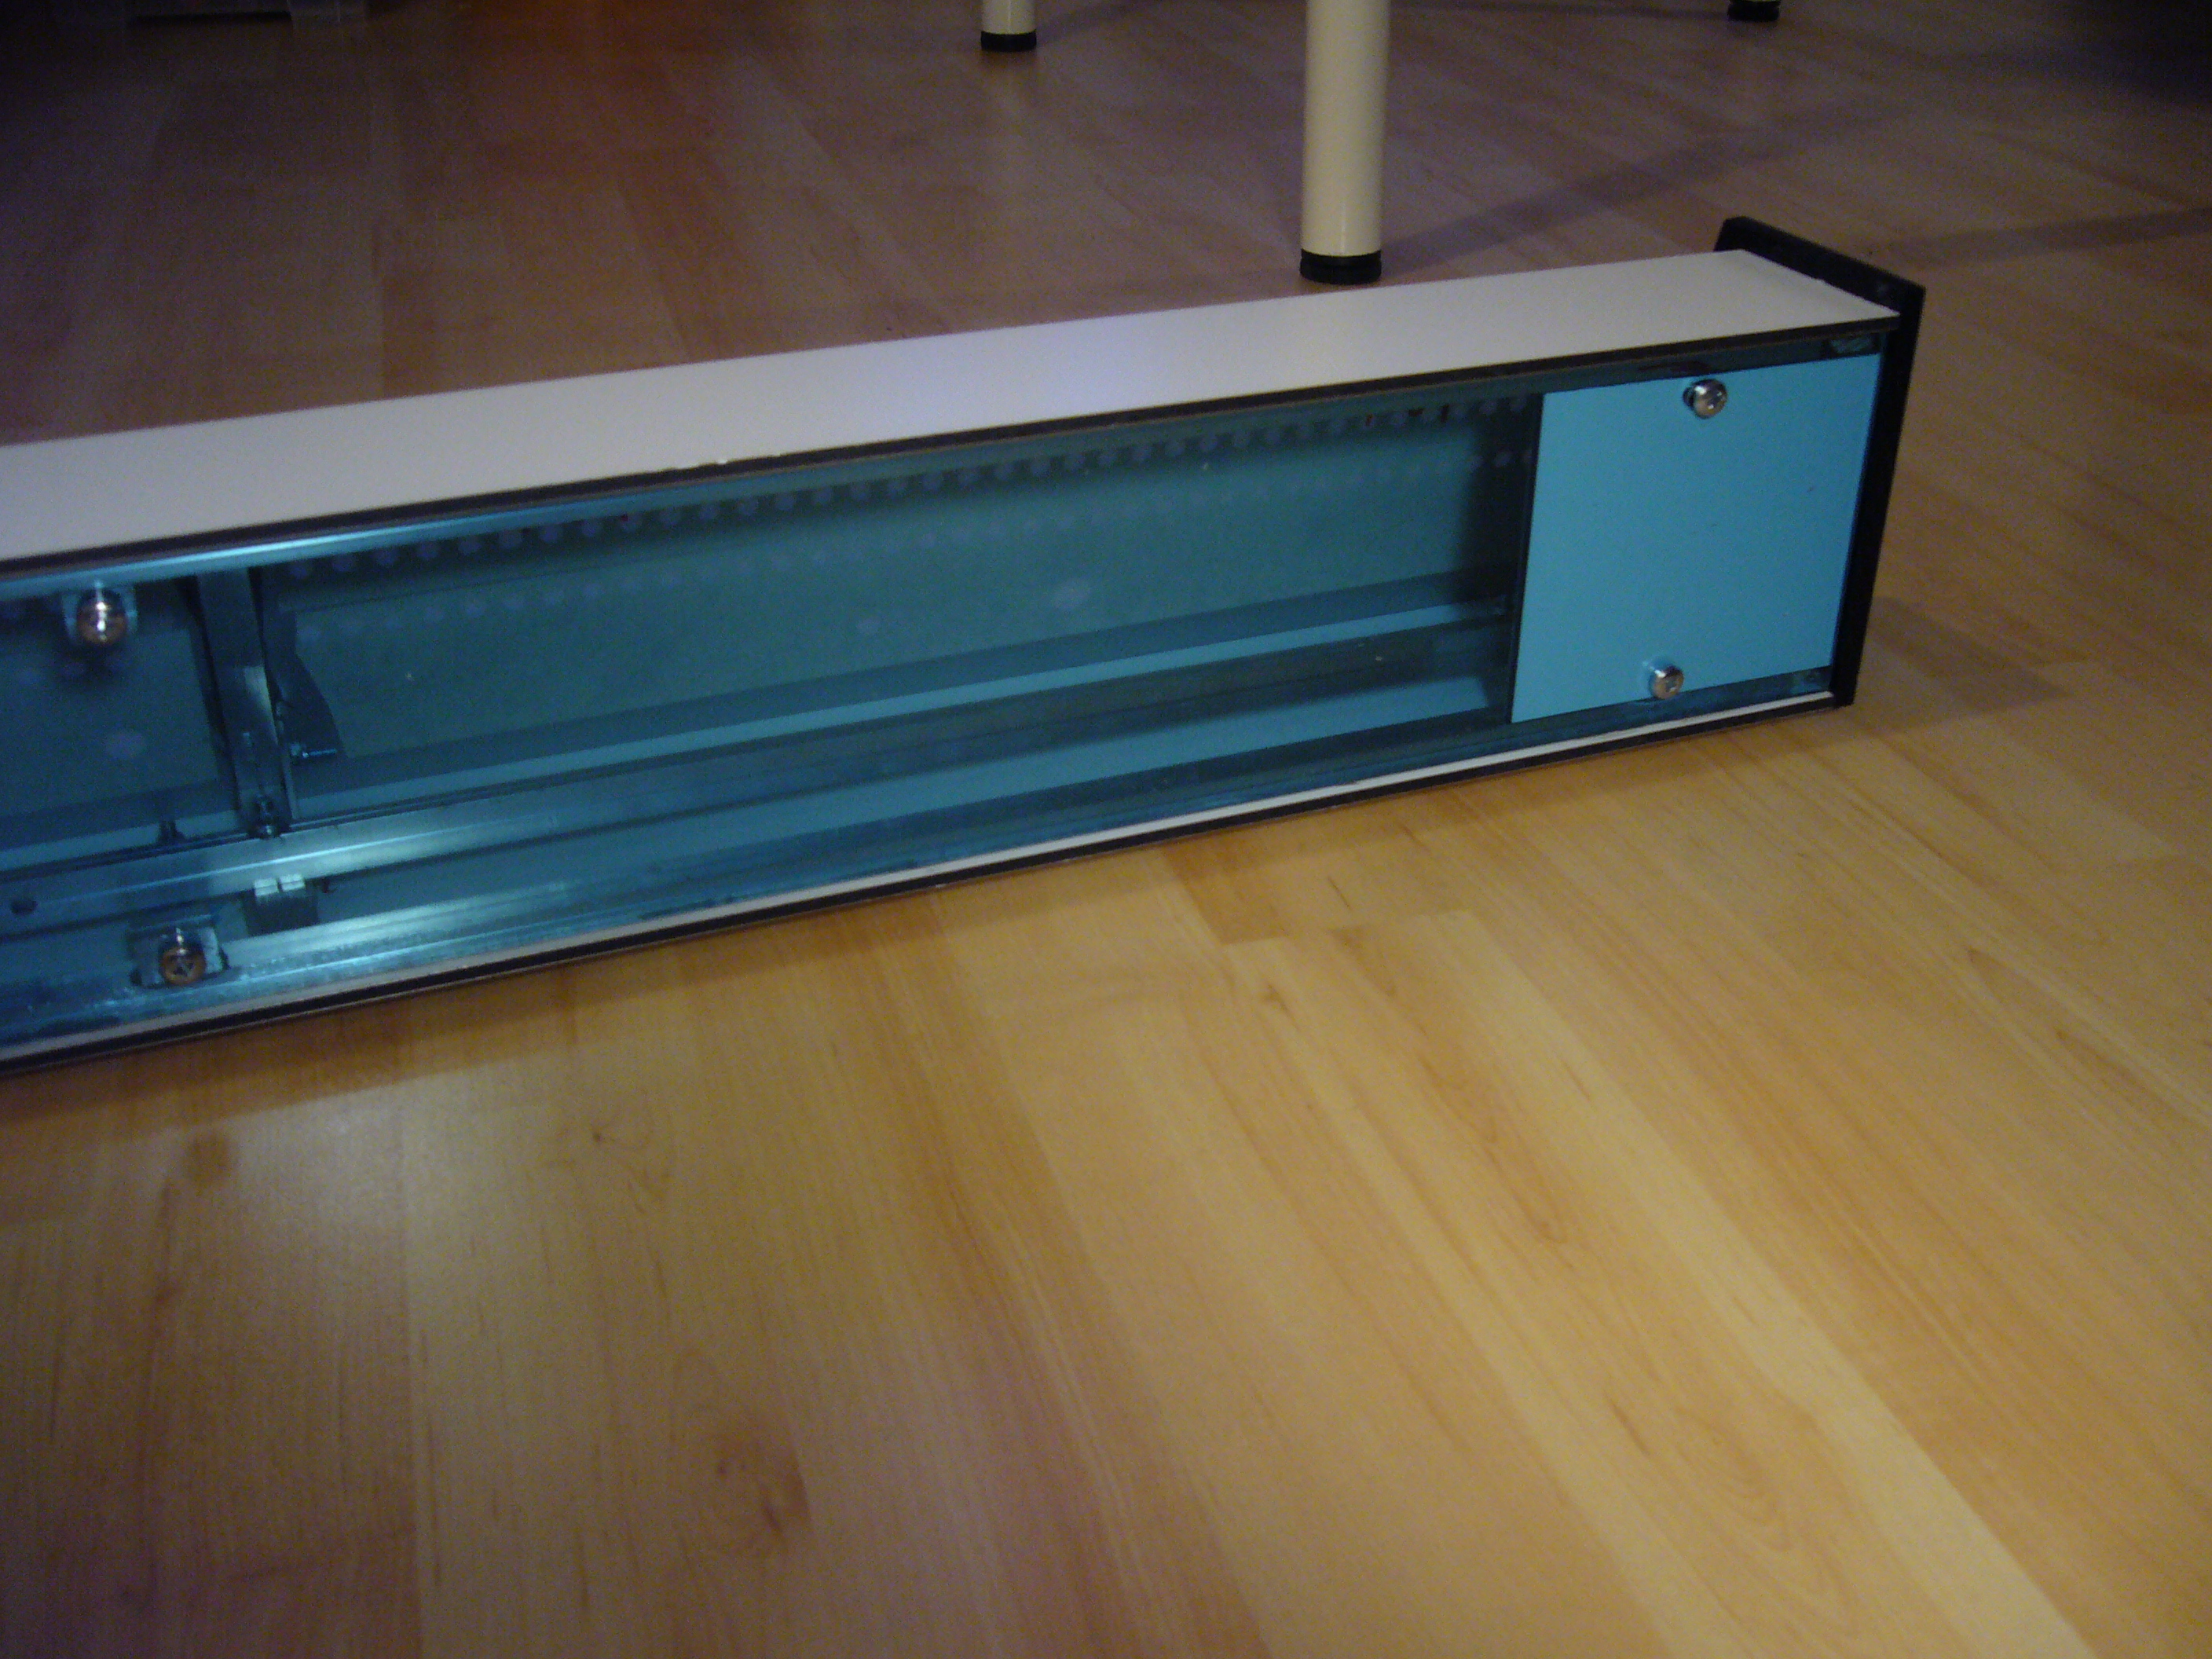
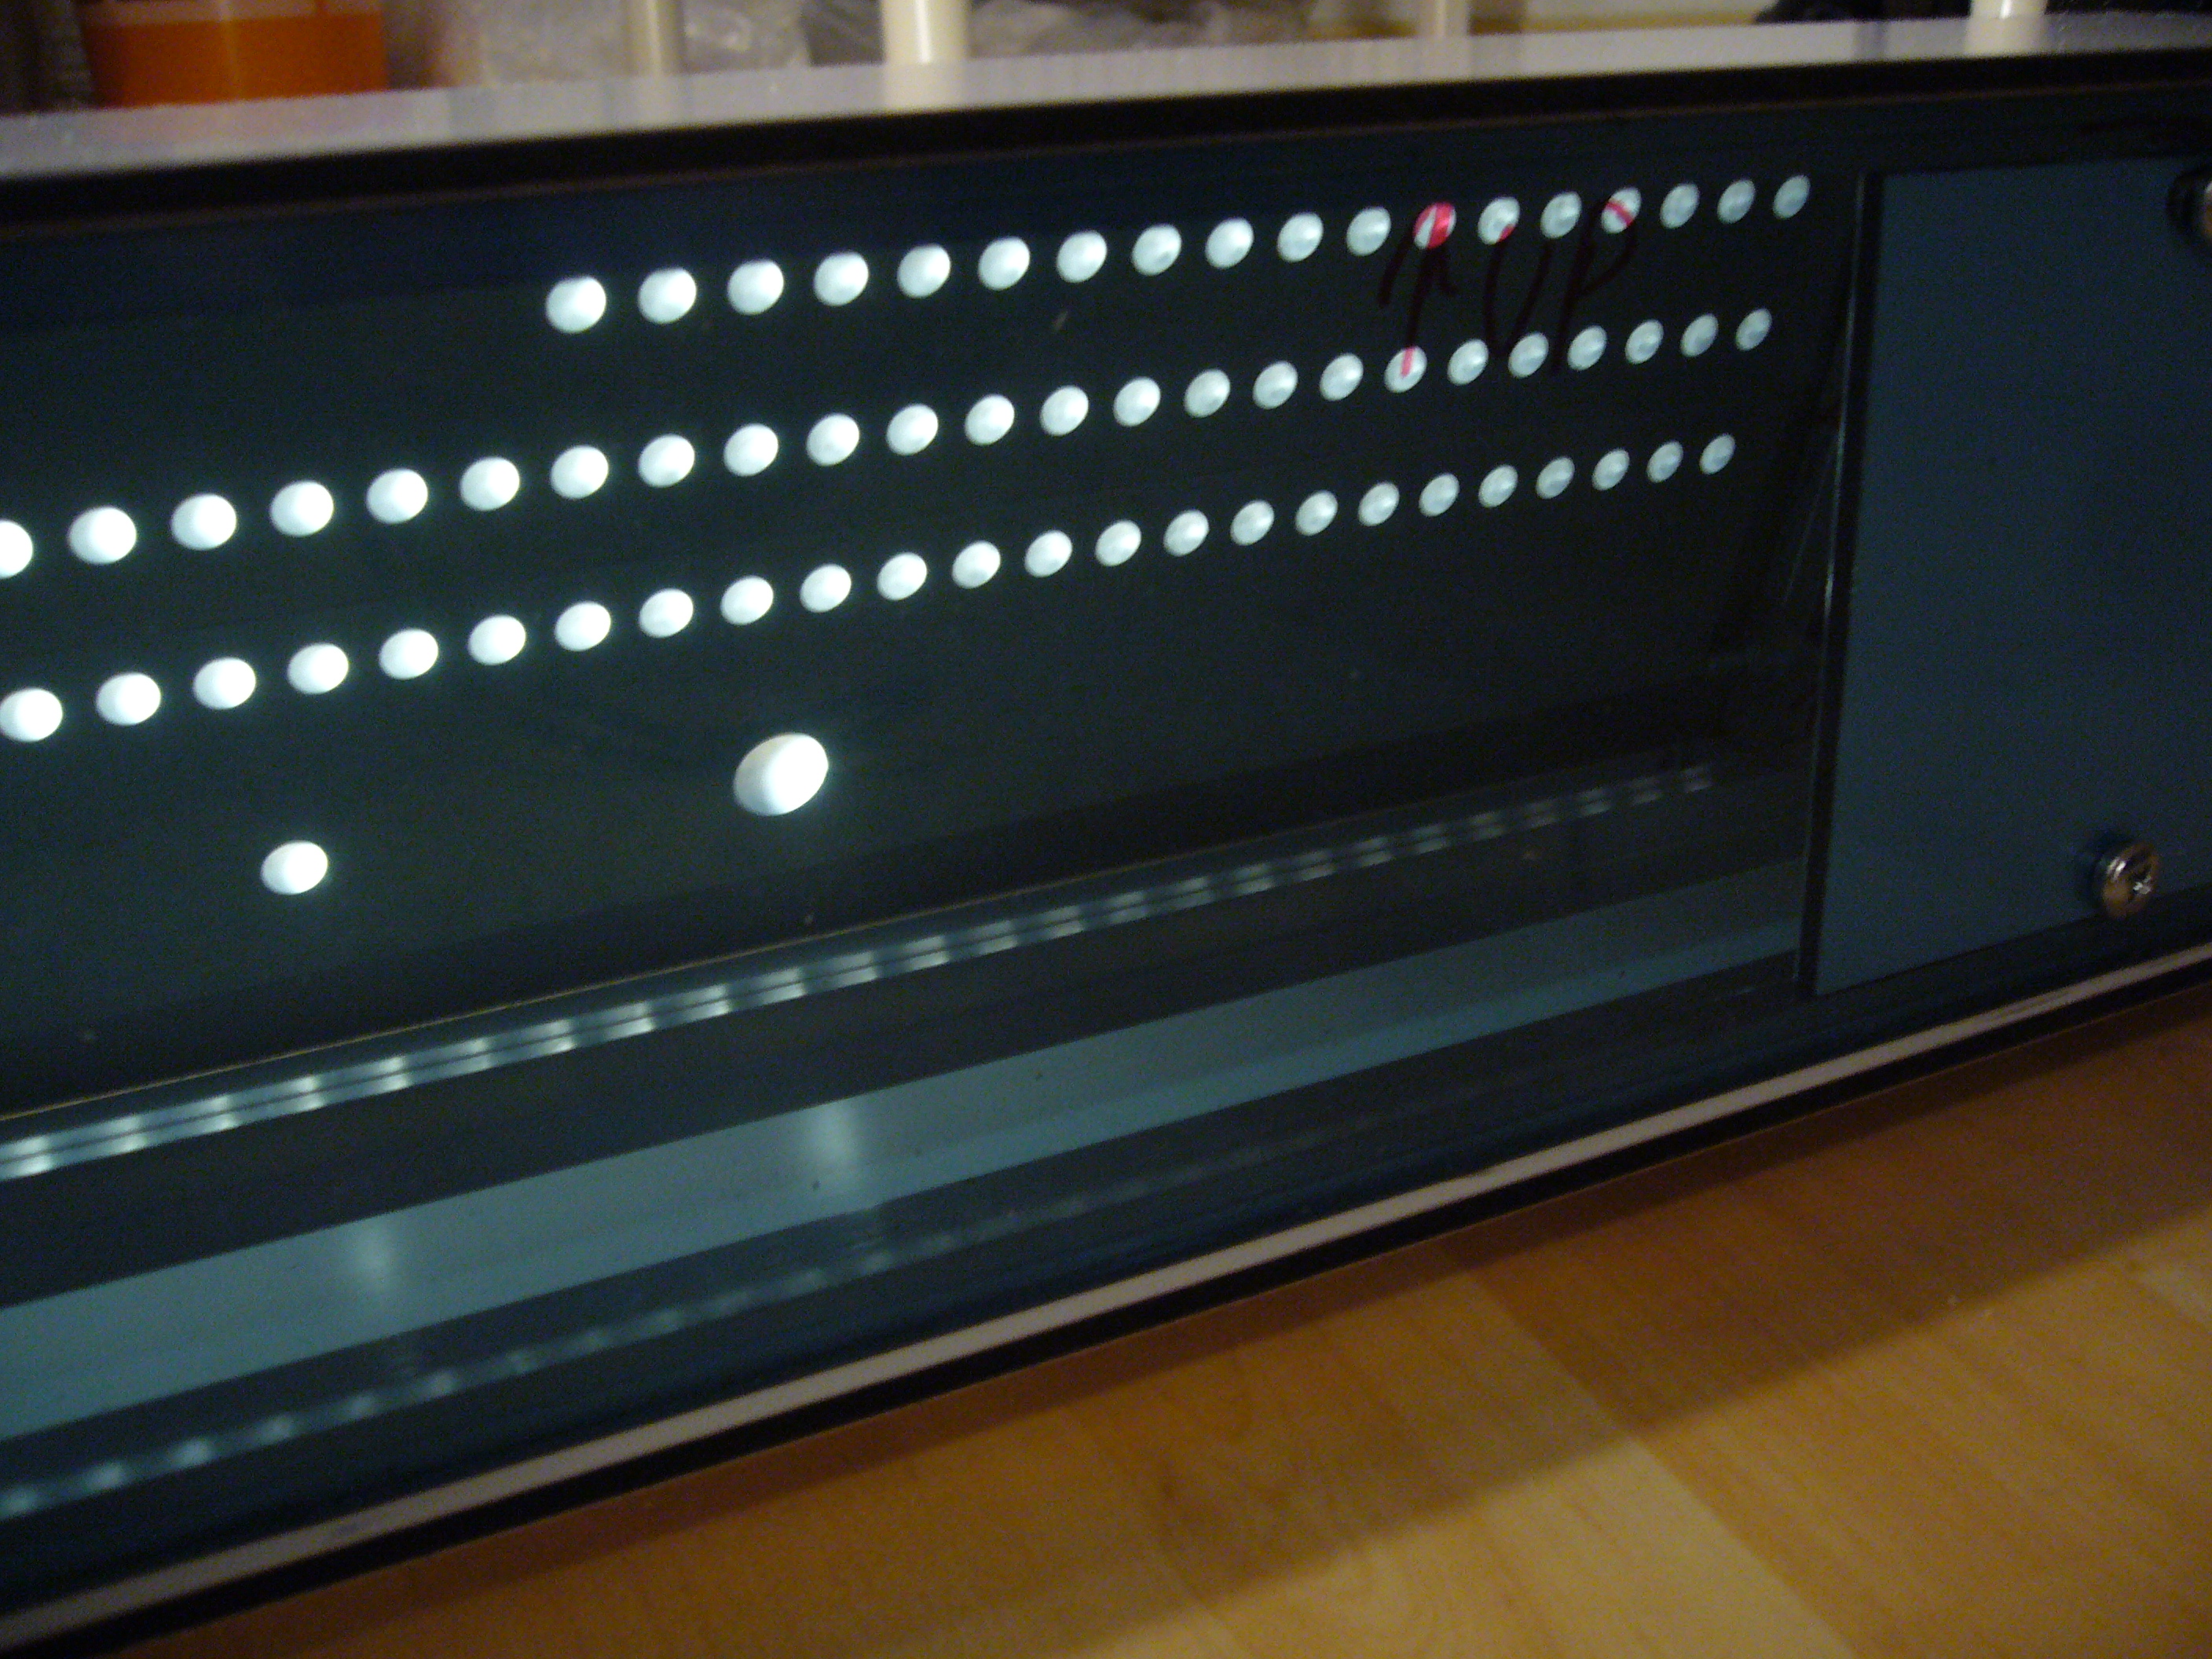
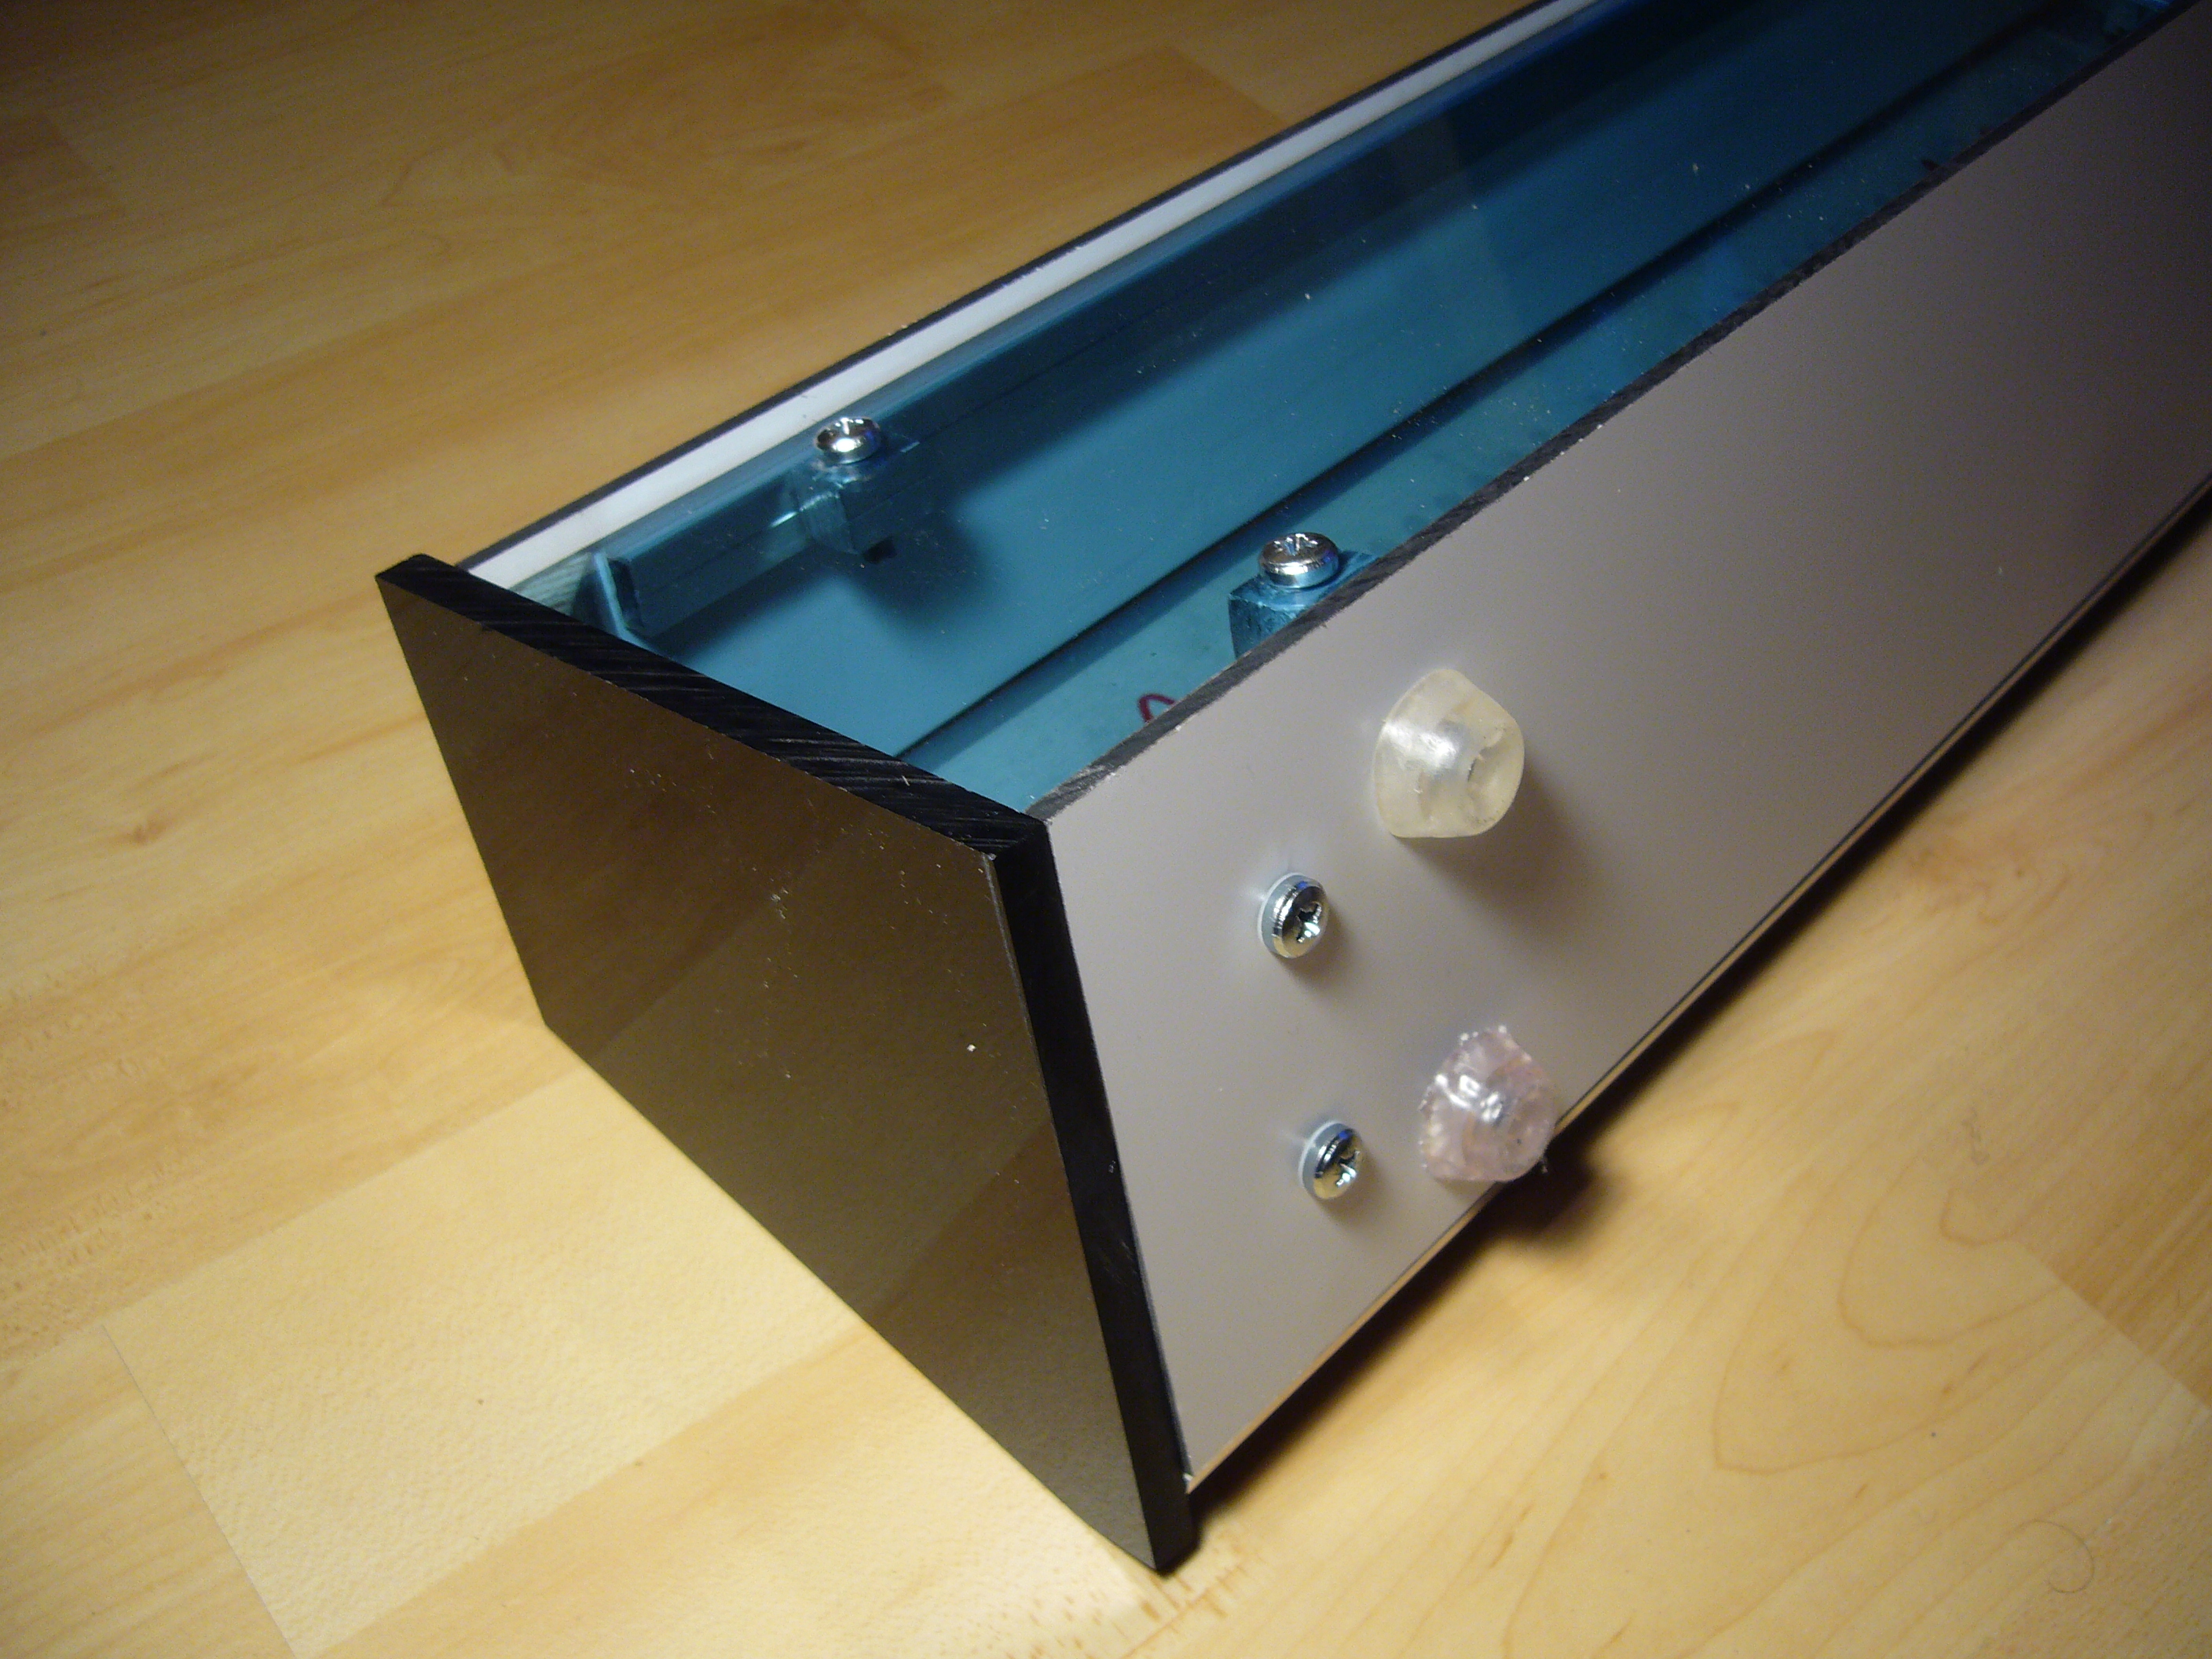
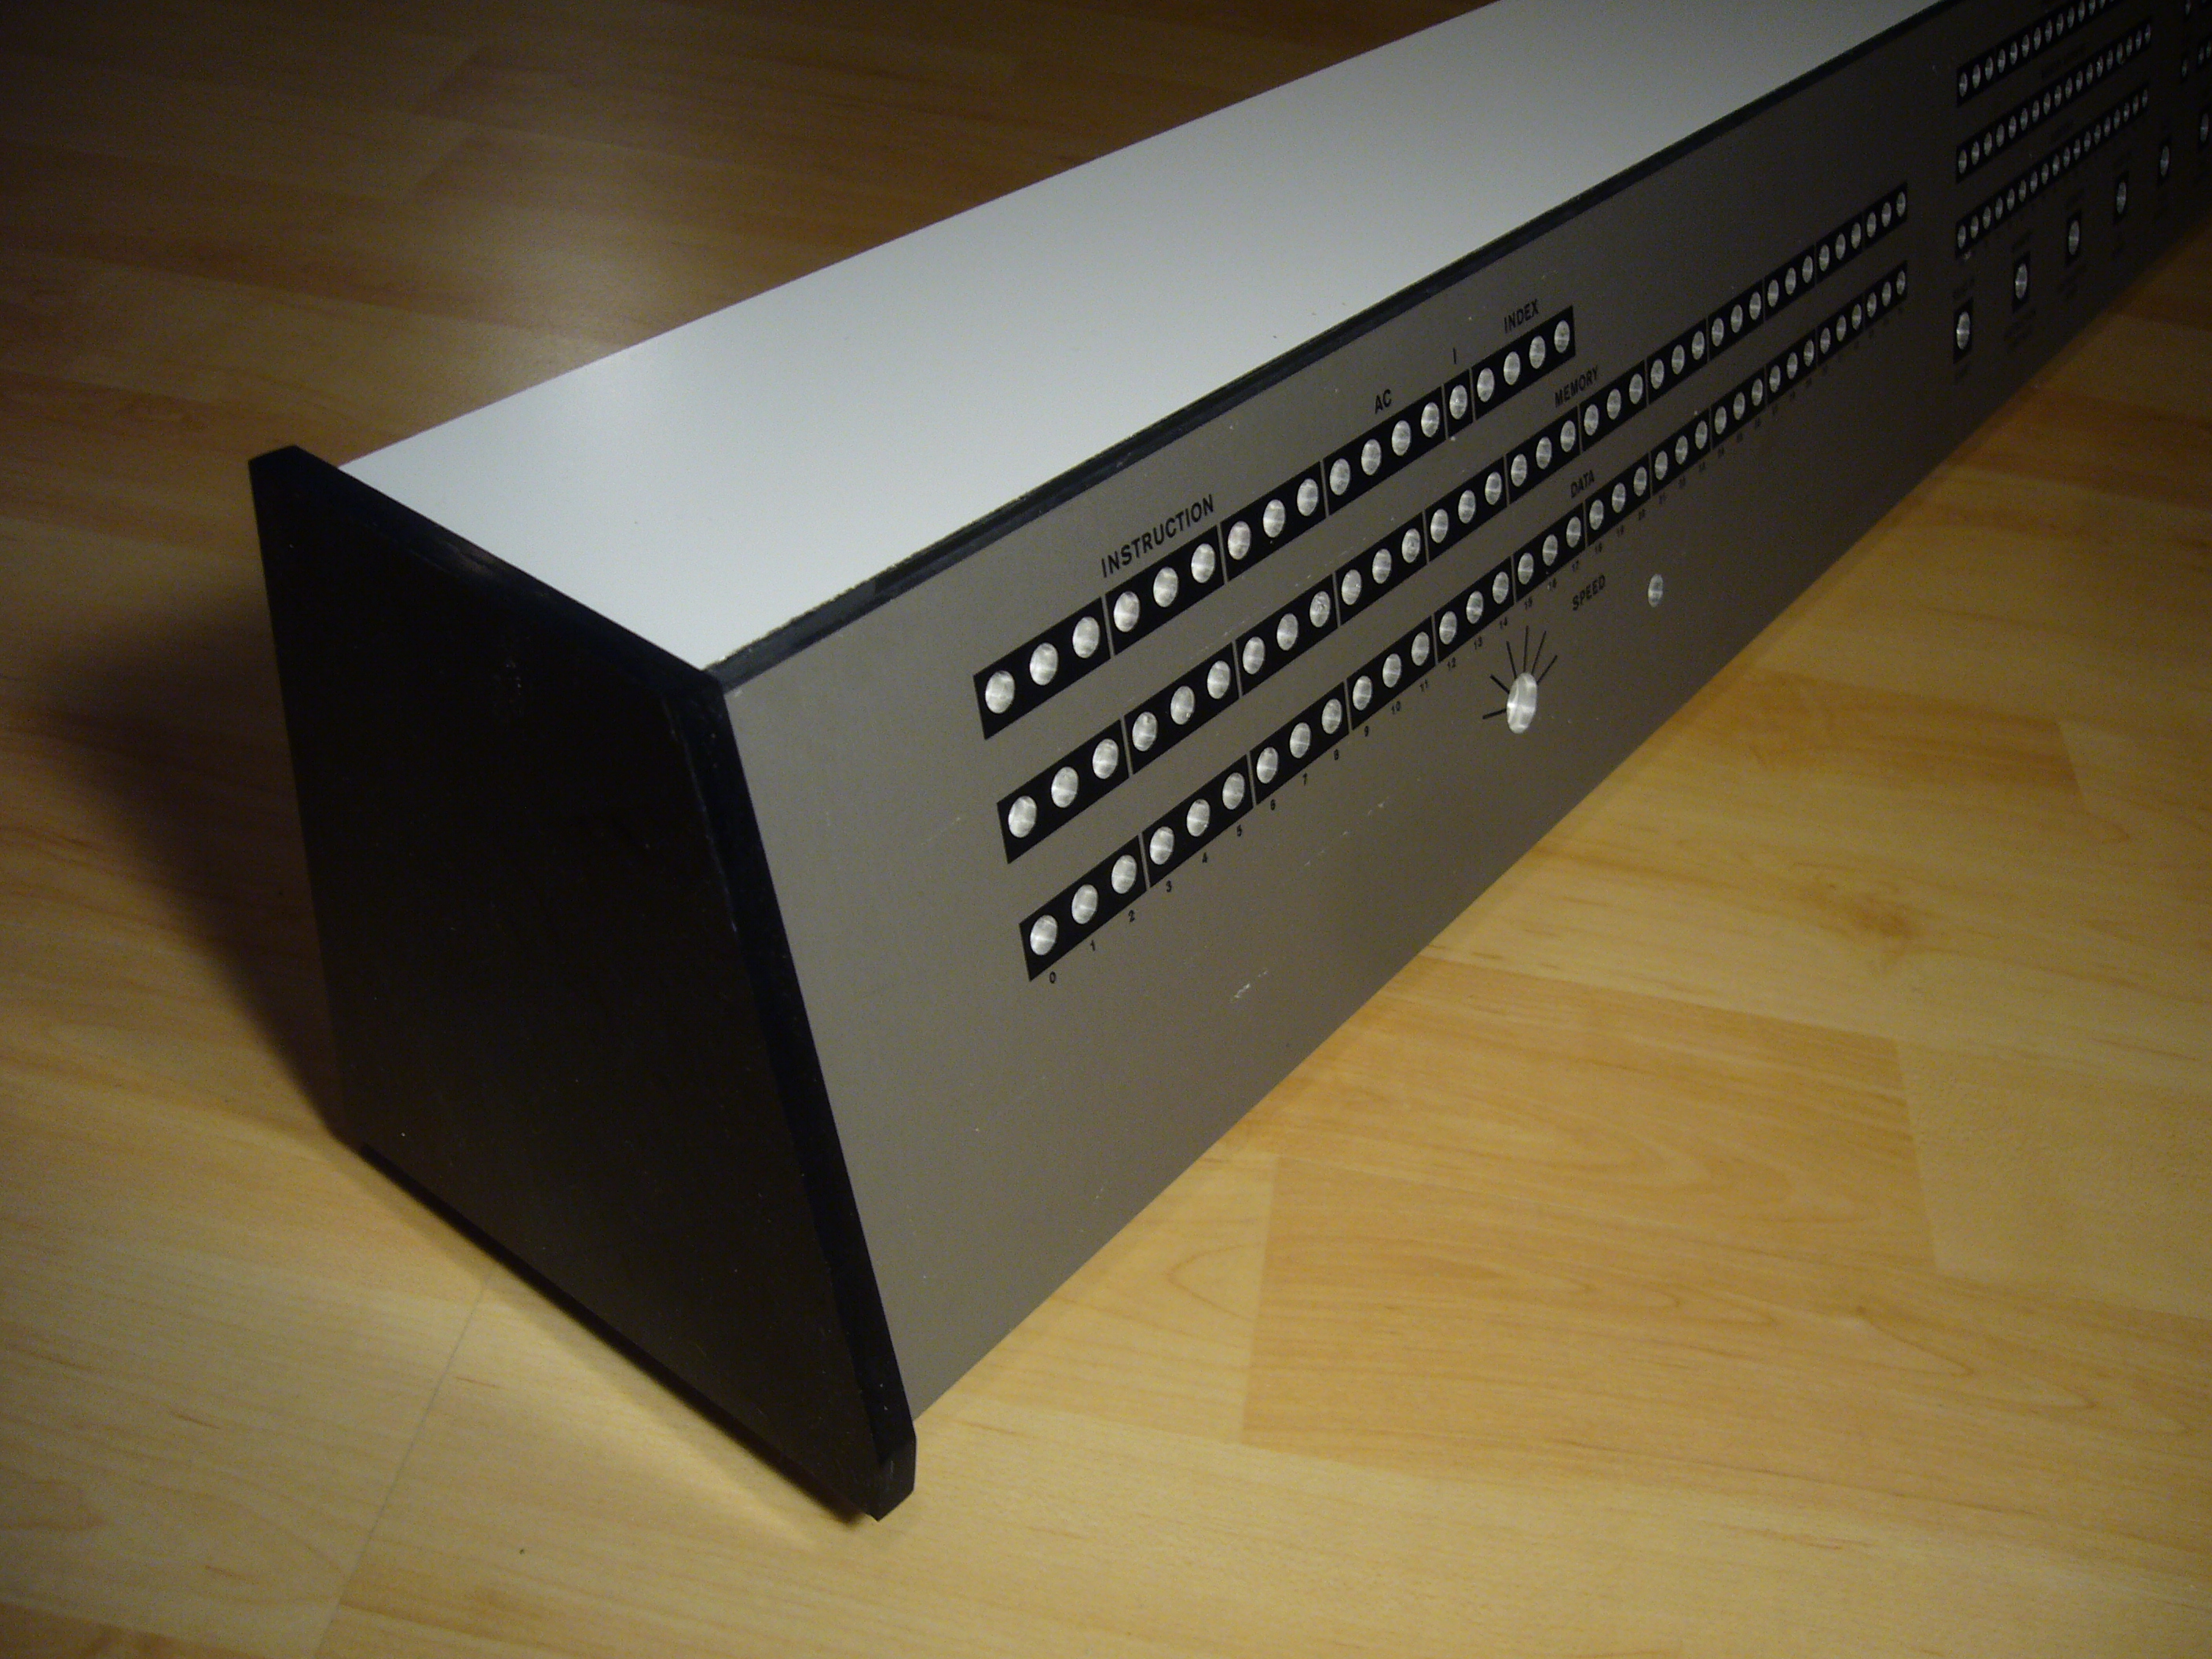
We got two panels now. This is one of them Unfortunately the holes and the eloxated parts are offset slightly :/ Also our design was not correct, the panel needs to be longer and the key holes are too small.
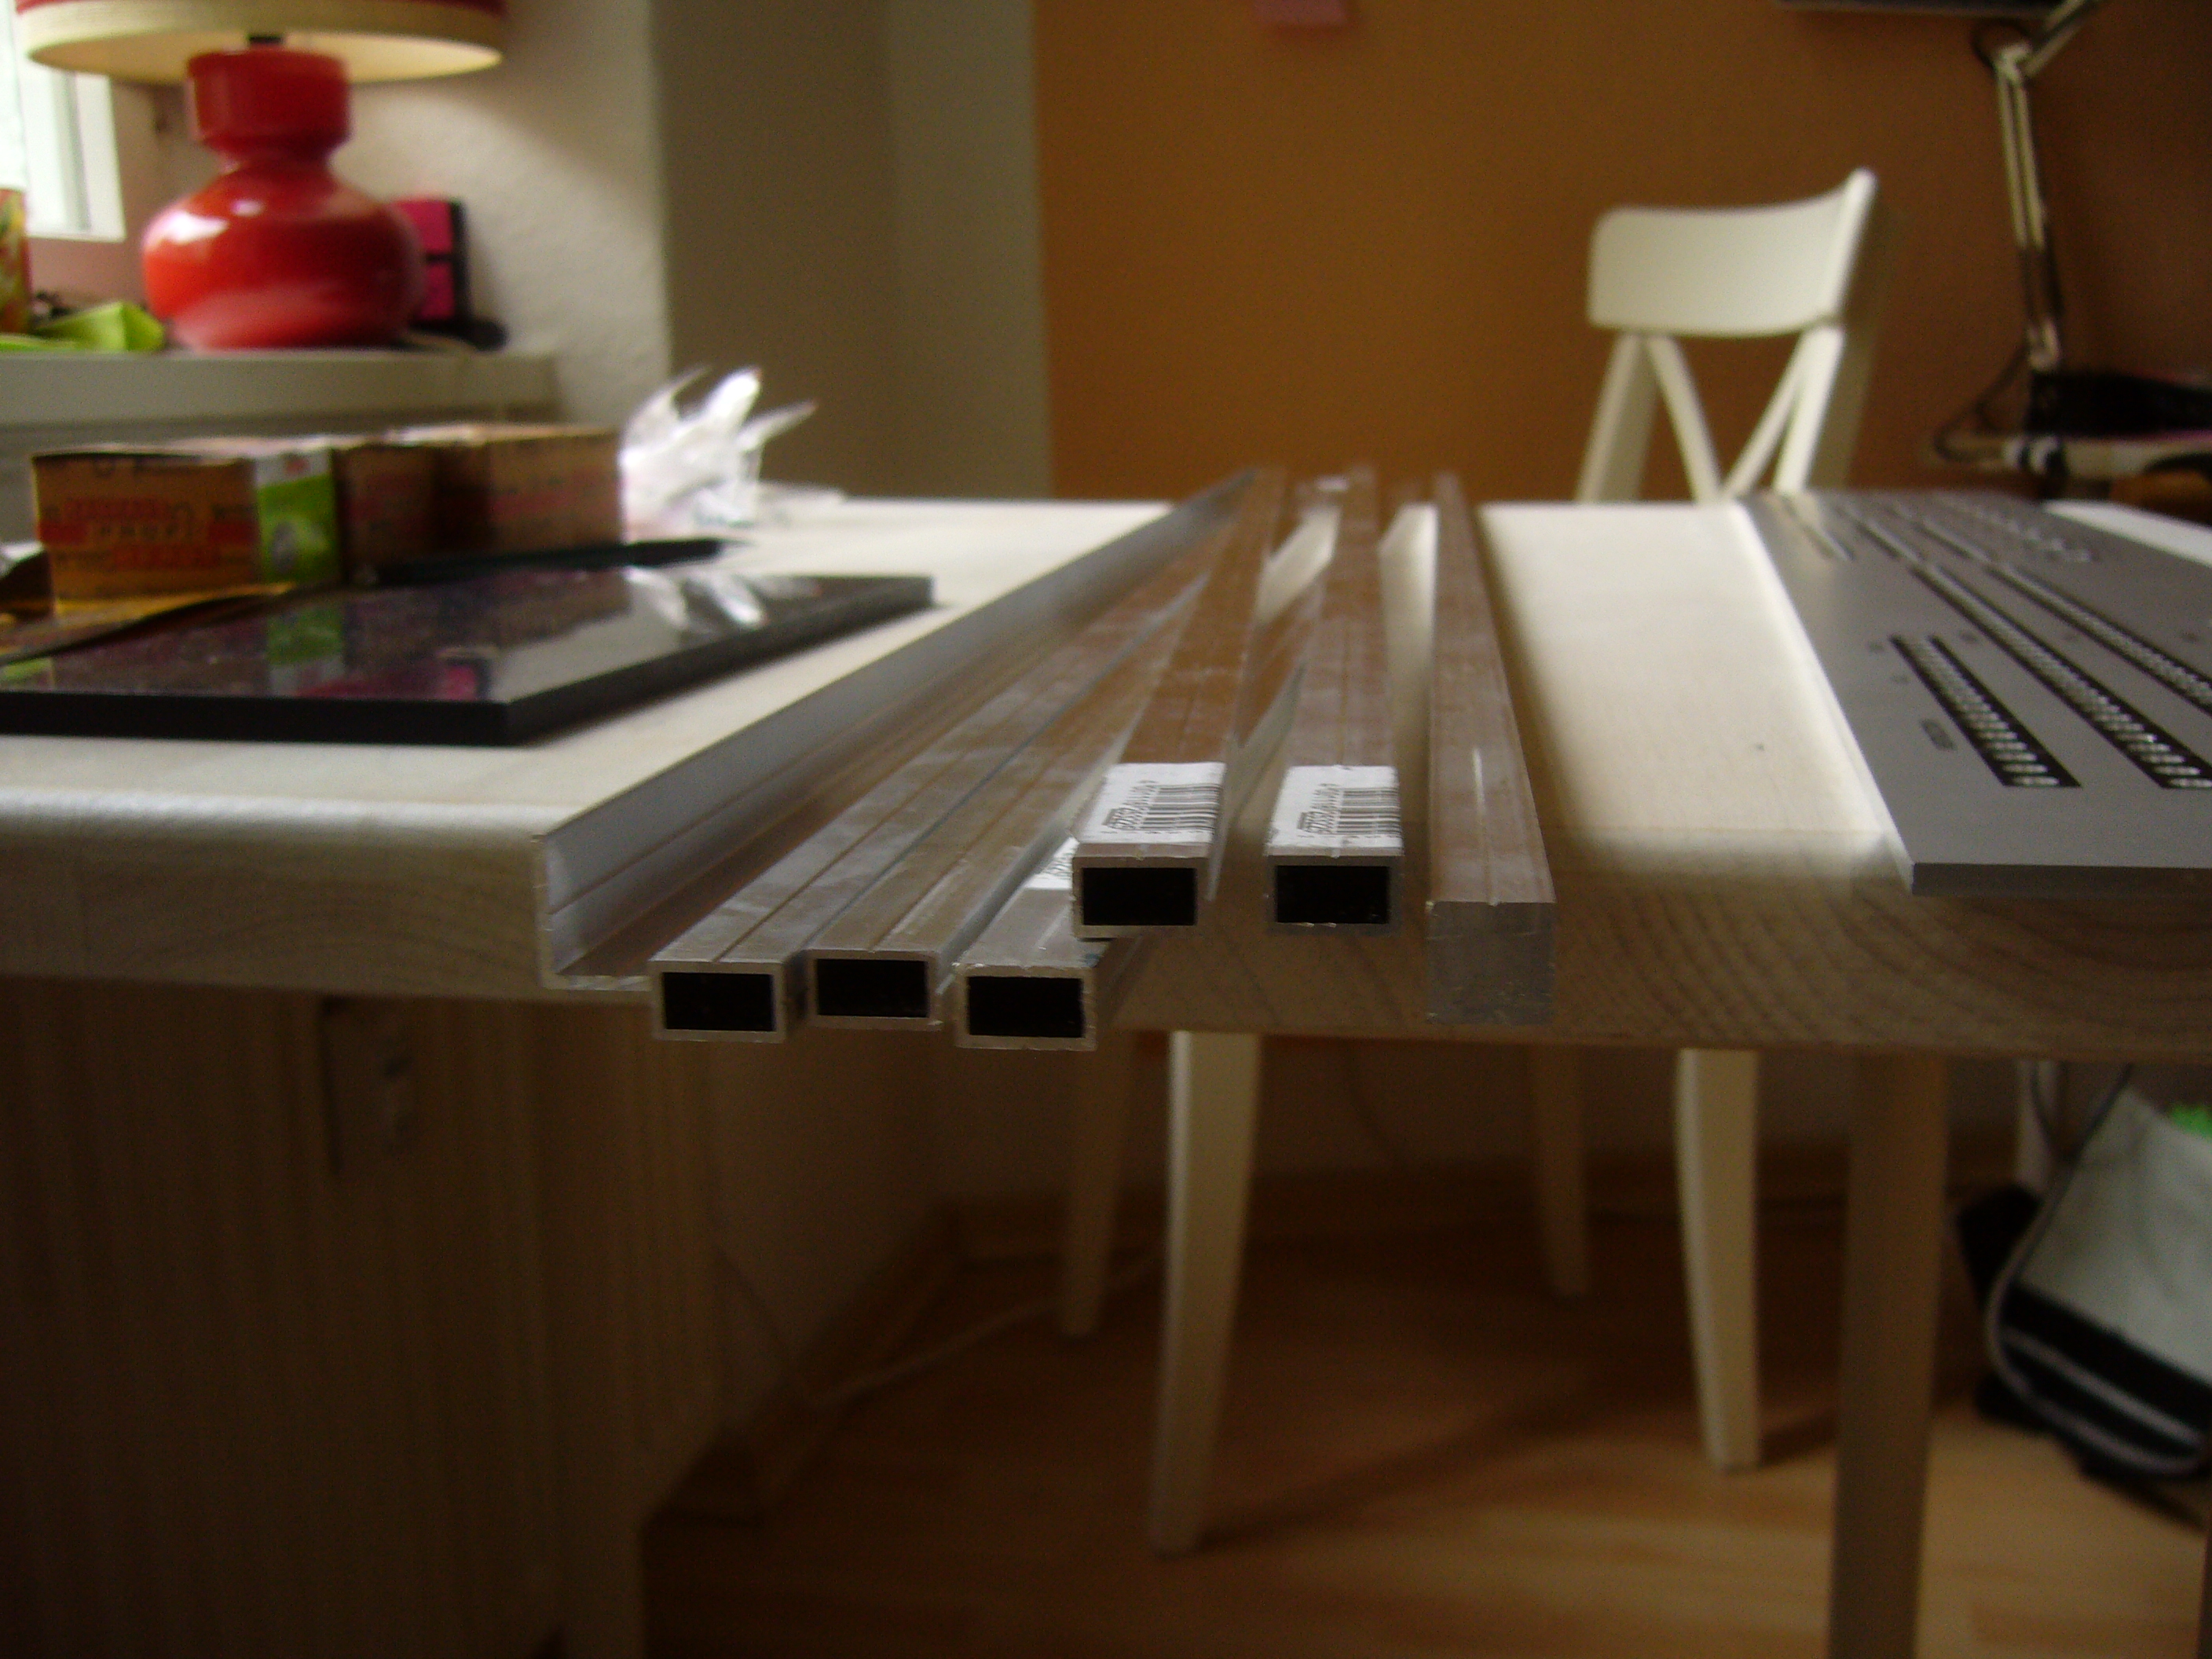
We discussed how we should go about building the case again, went to buy material the next day.
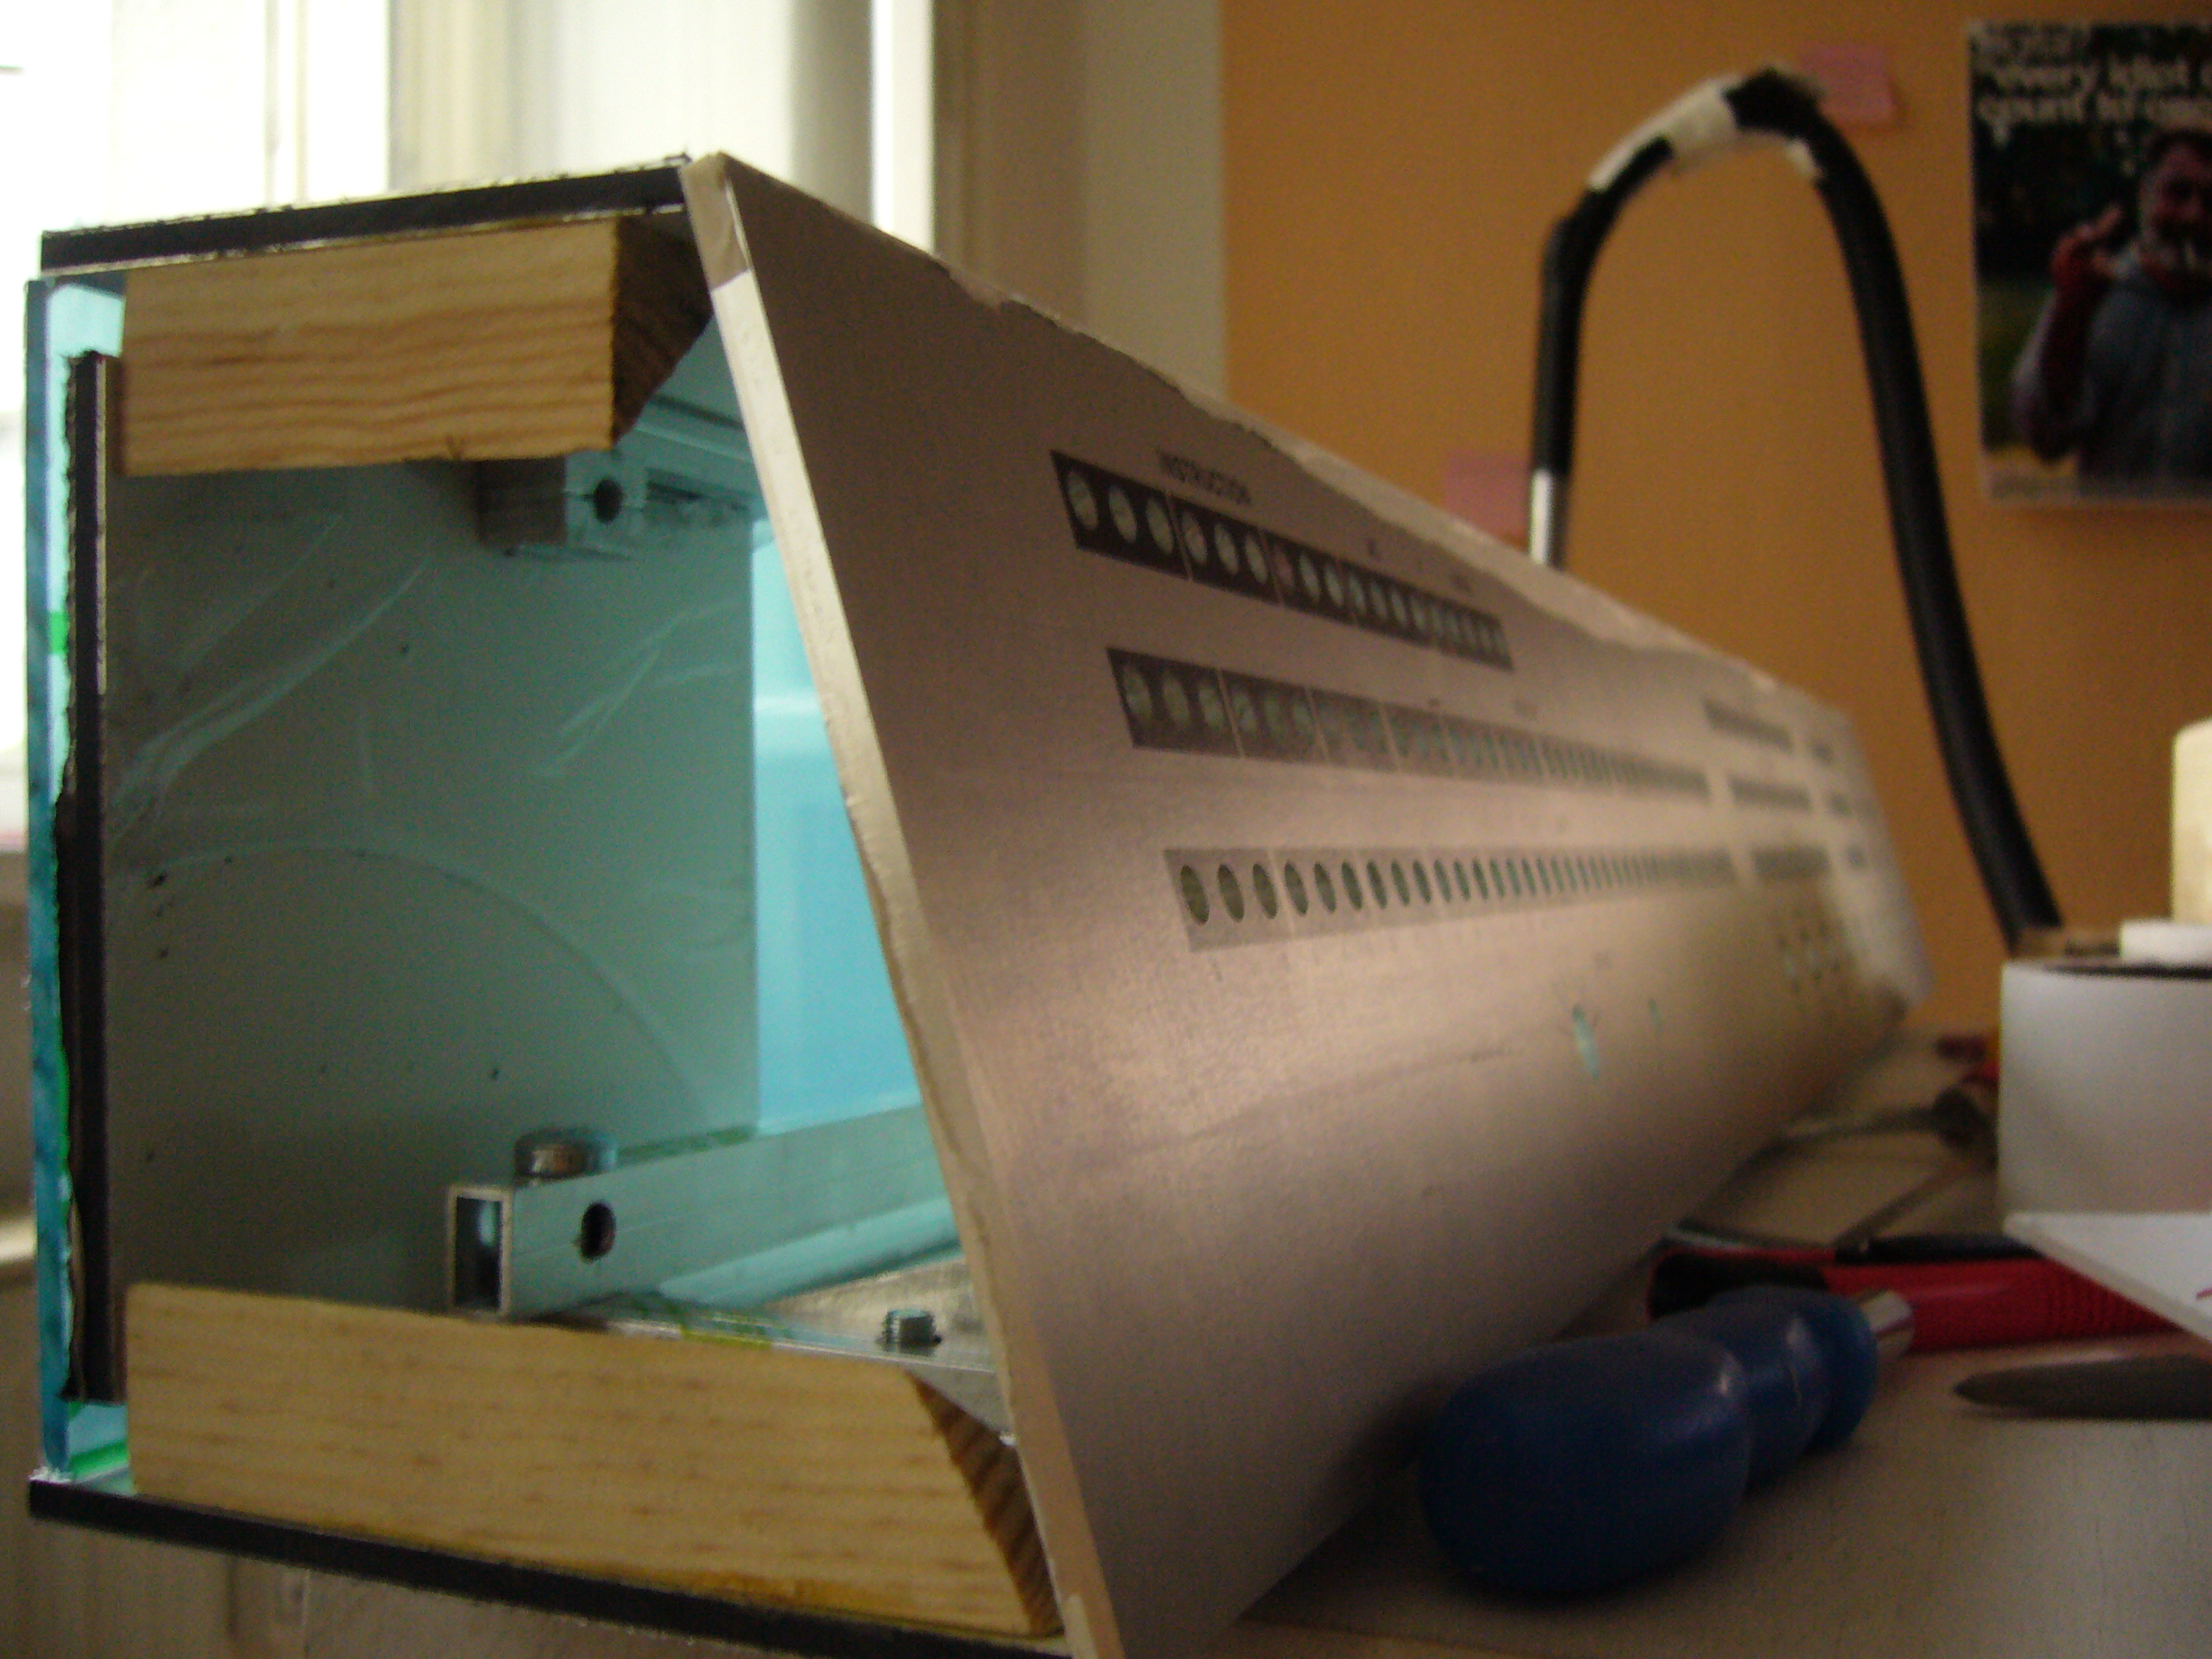
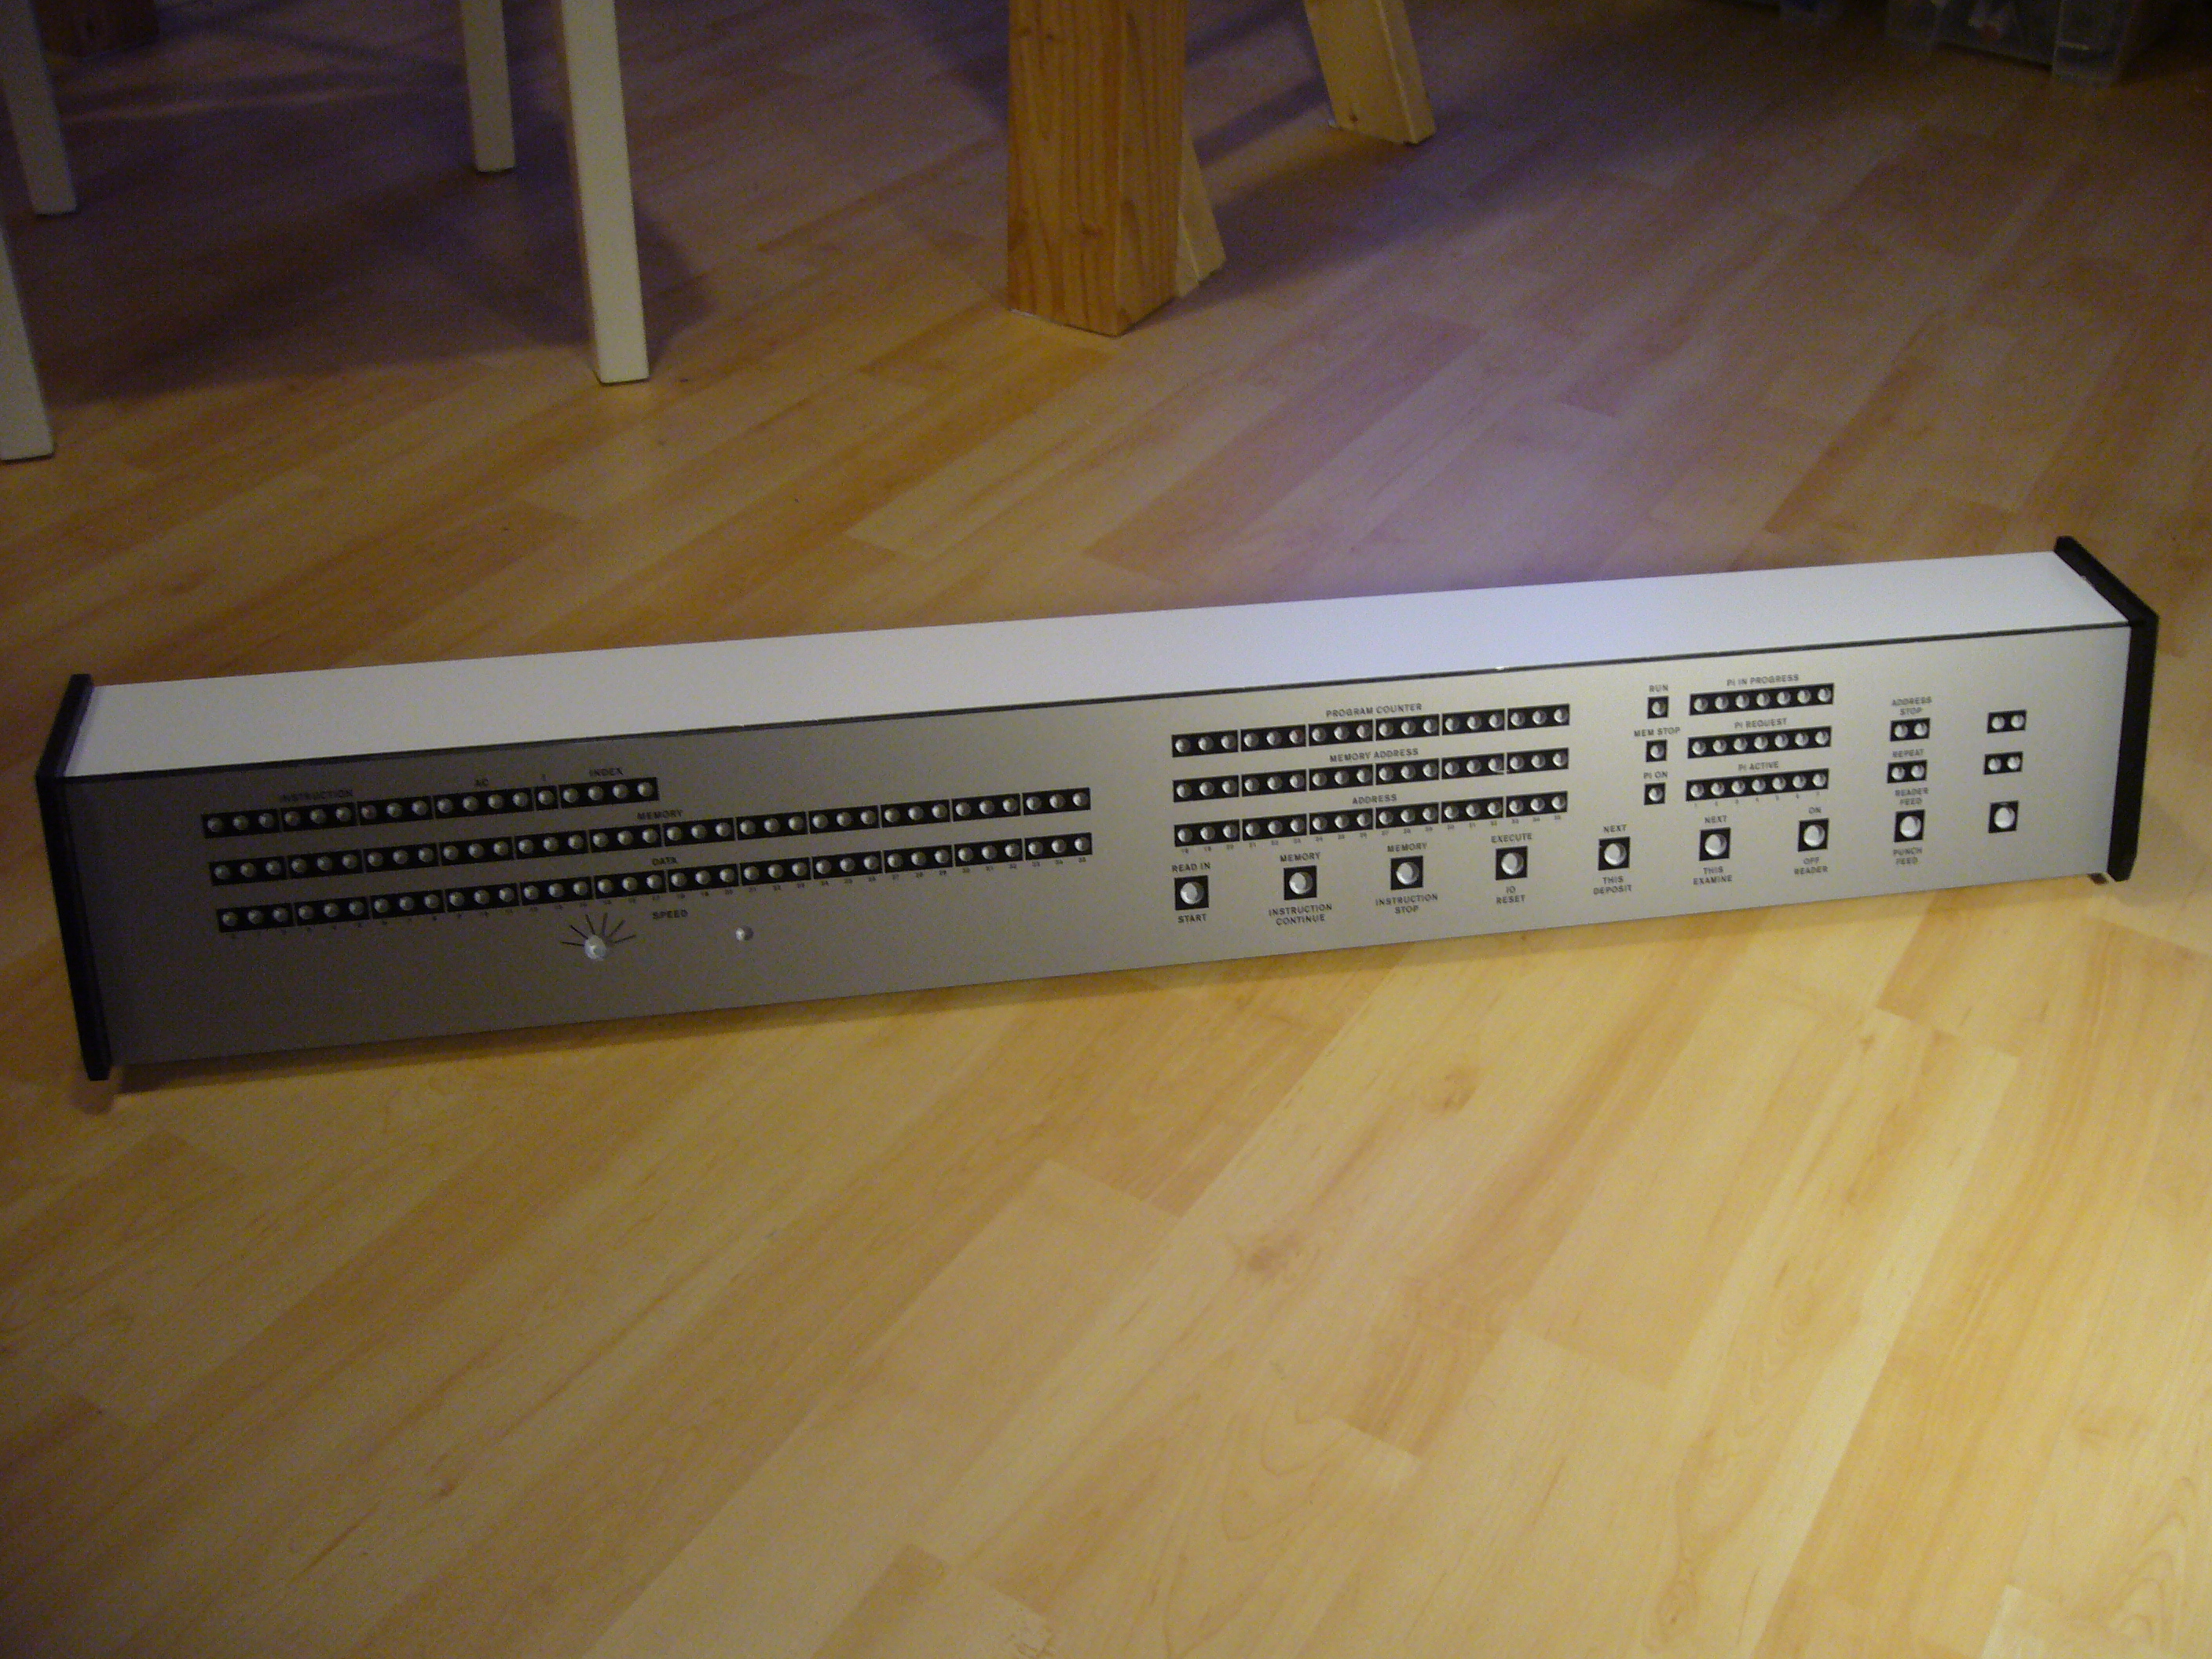
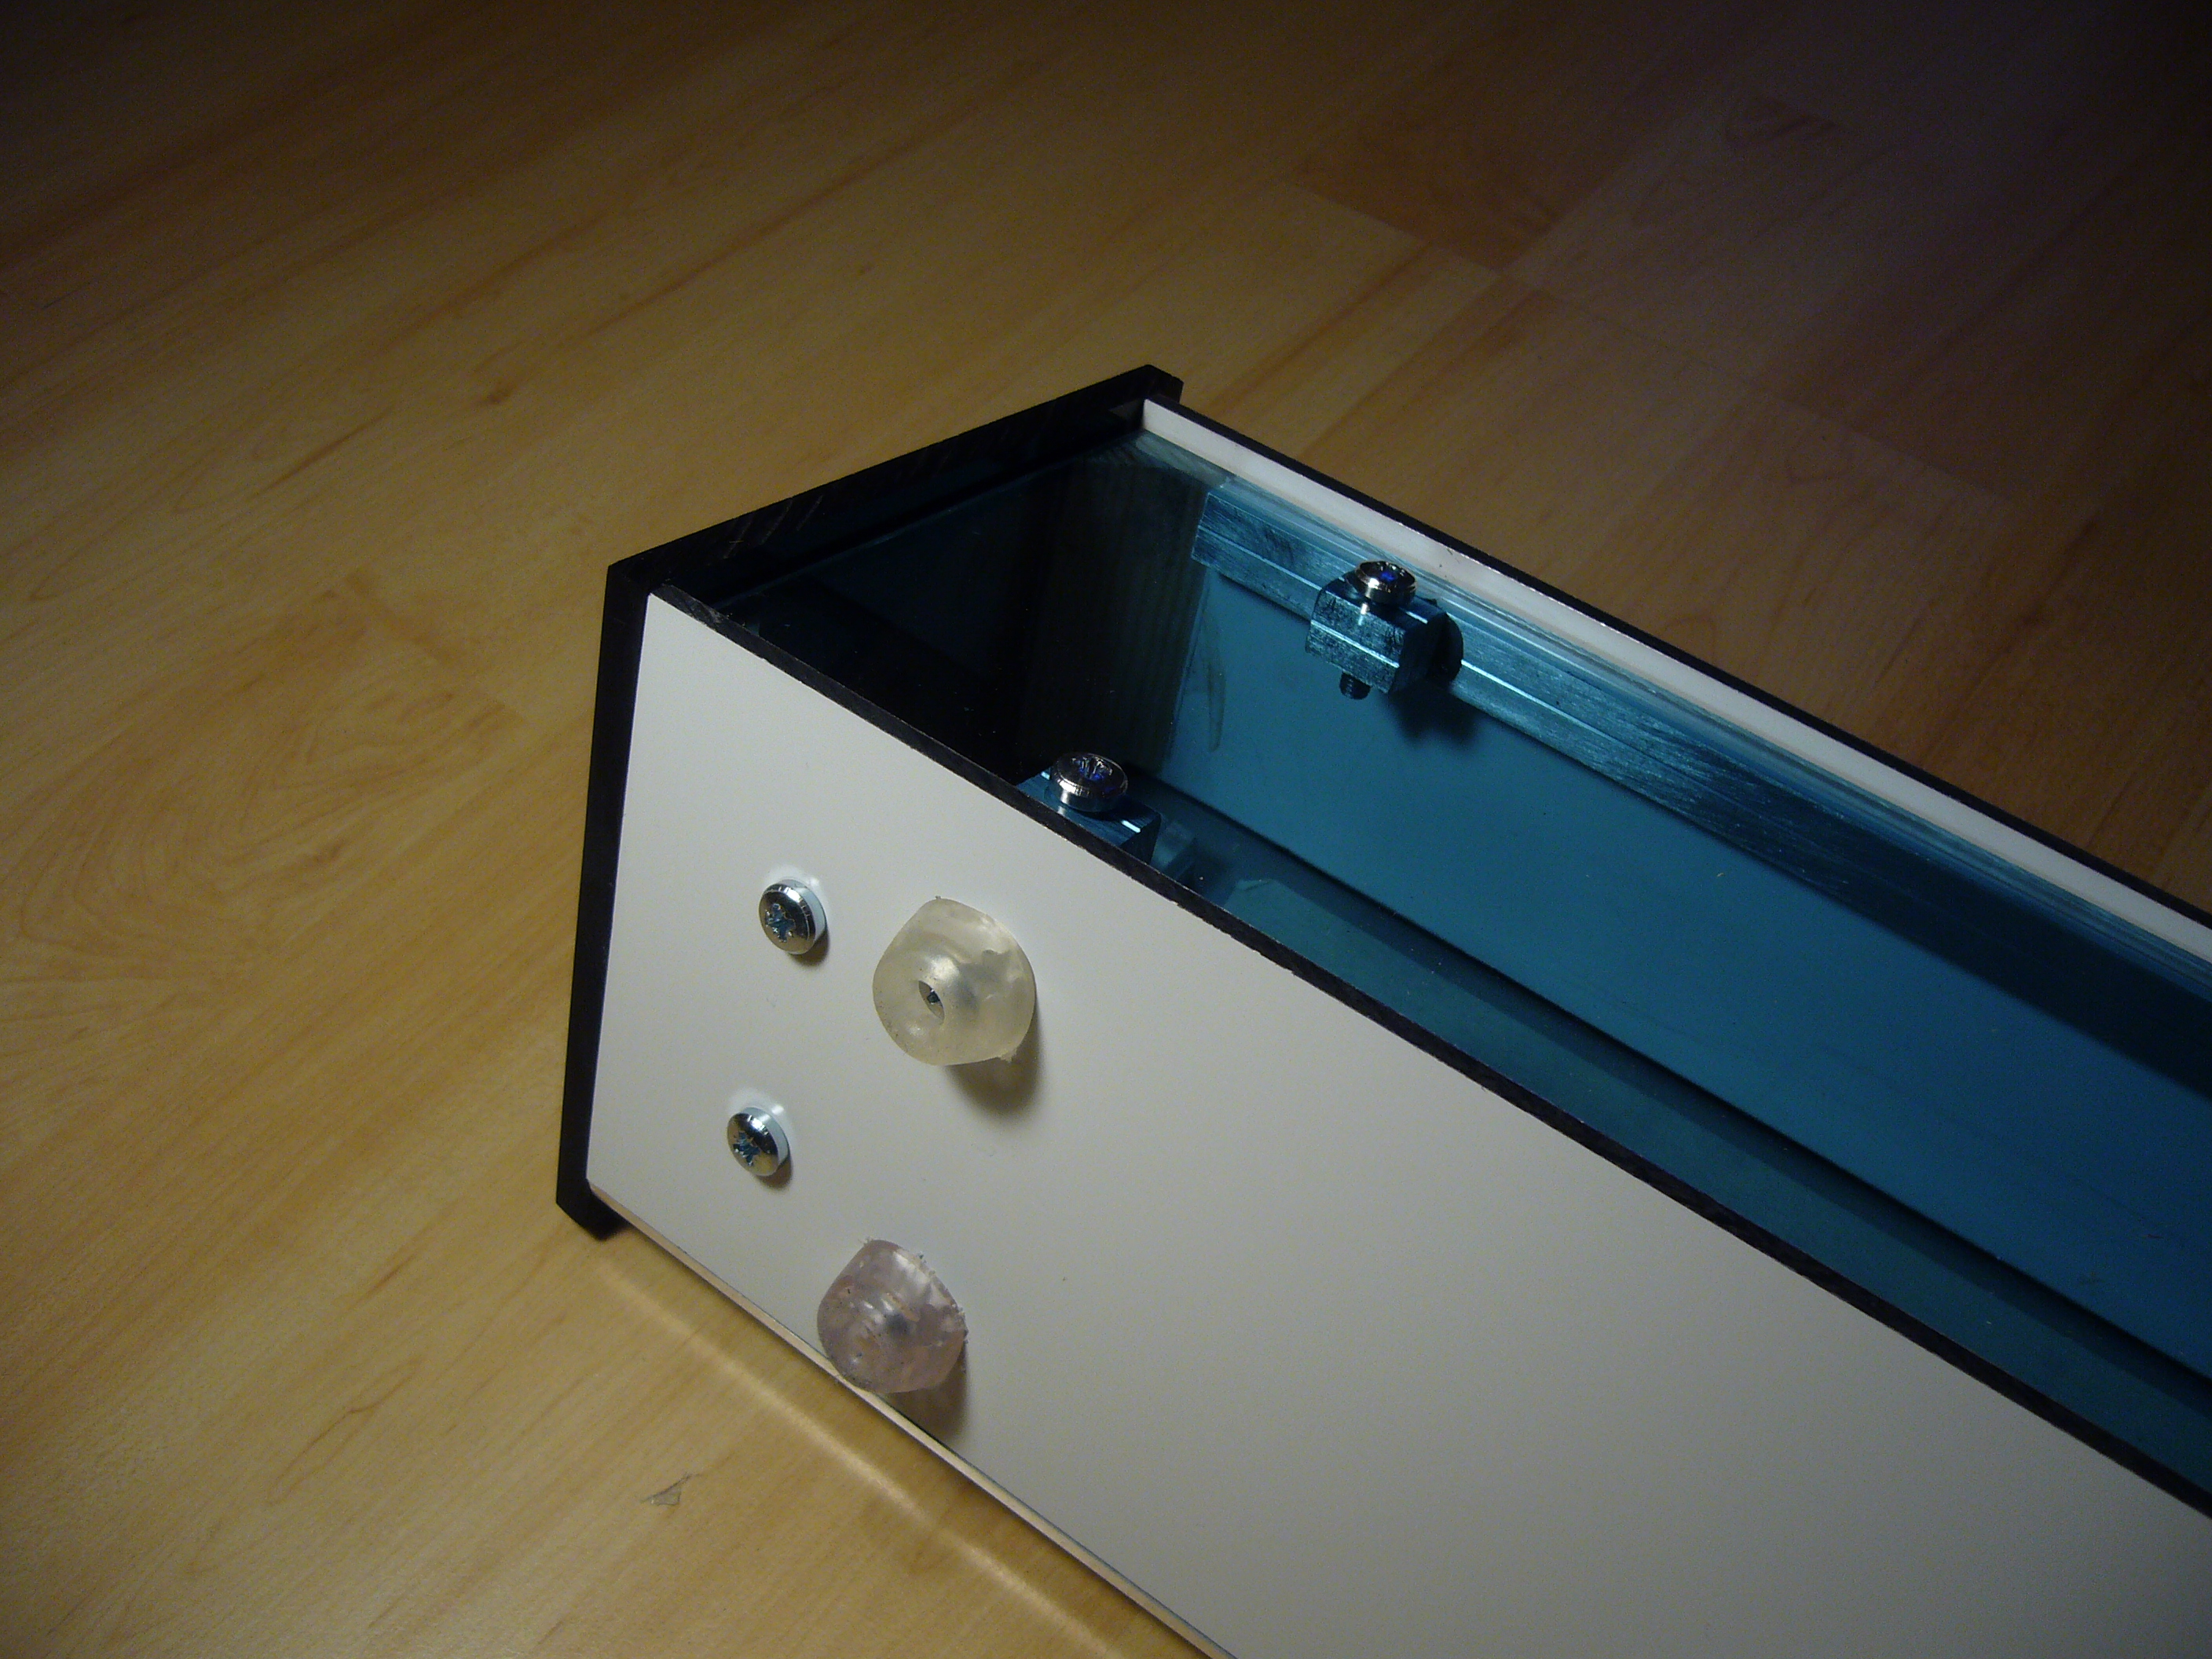
Jaseg started to build the panel case and was done after only a few days.
7-18: 1, 2, 3, 4, 5, 6, 7, 8, 9, 10
Jaseg forked the emulator in order to write tests from python. This turned out to be more work than expected and I have other things on my mind right now...
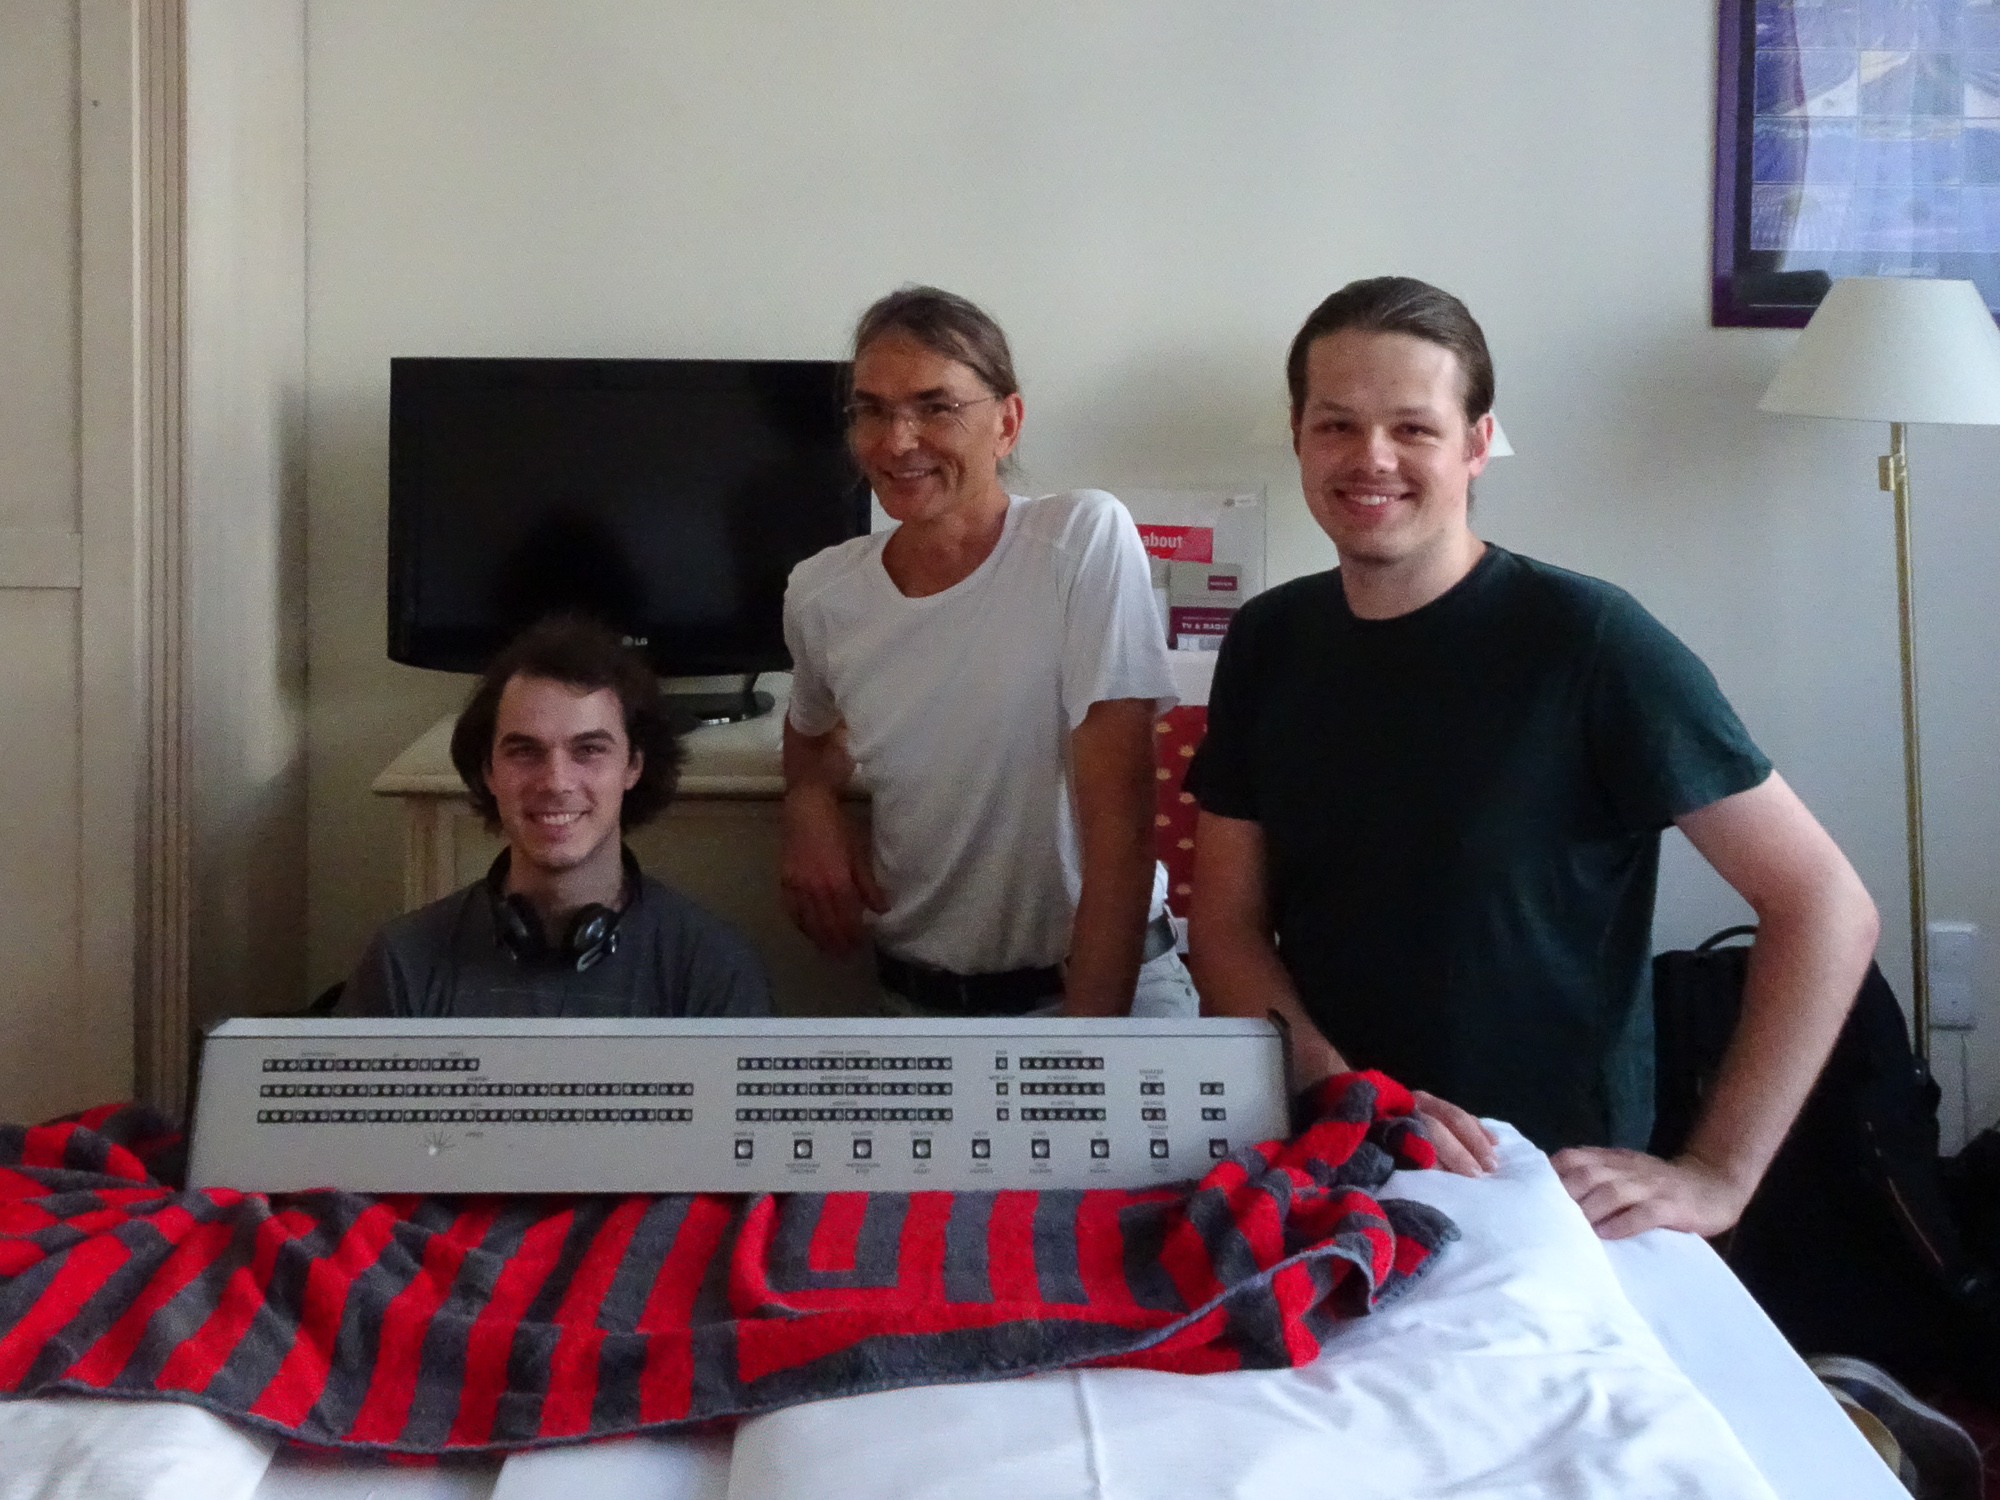
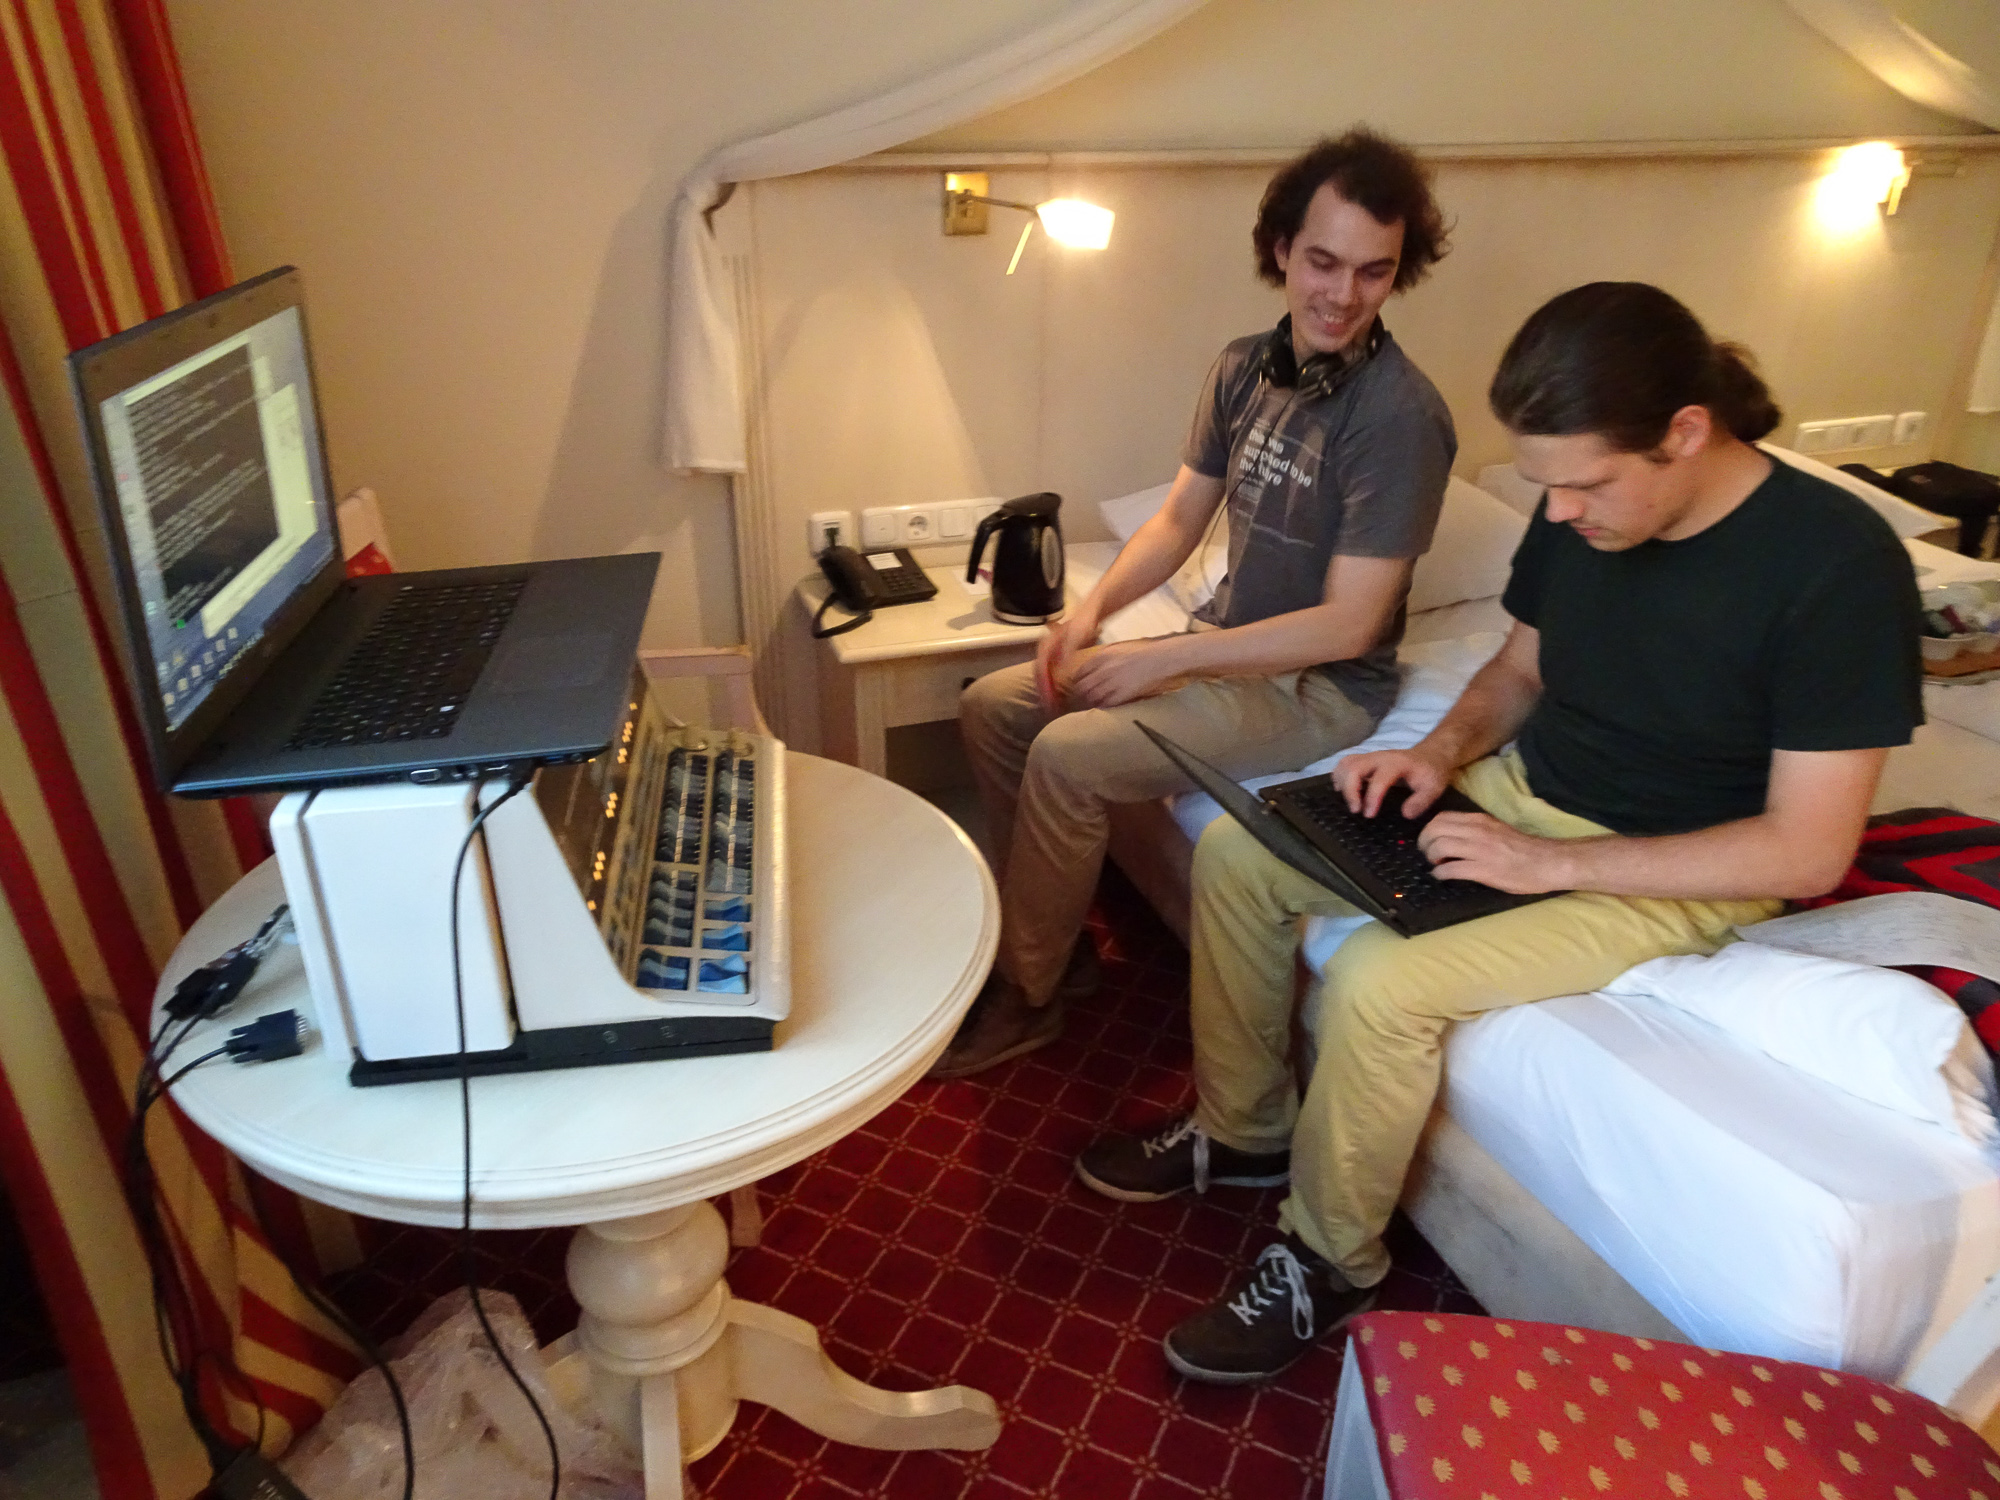
Jörg was in Berlin for a day and had to catch his flight to VCFMW the next day. Naturally the three of us met to show off our projects. We played with Jörg's PDP-15 blinkenbone panel (I wrote a hello world program for it, yay) and talked about all sorts of things.
Us in the hotel room: 1 (jaseg, Jörg, me from left to right), 2
After a roughly two month hiatus we showed our sadly unfinished project at the VCFB 2016. It was very nice to see everyone again :)
We wanted to have a second batch of aluminium plates ready for the VCFB but Altenis said they can't to 1m panels...either we find another manufacturer or we stay with 90cm.
Jaseg wants to run the emulation bare metal on an ARM cpu and started working on that.
I took up work on the emulator again. The next step software-wise would be to write a proper assembler though.